
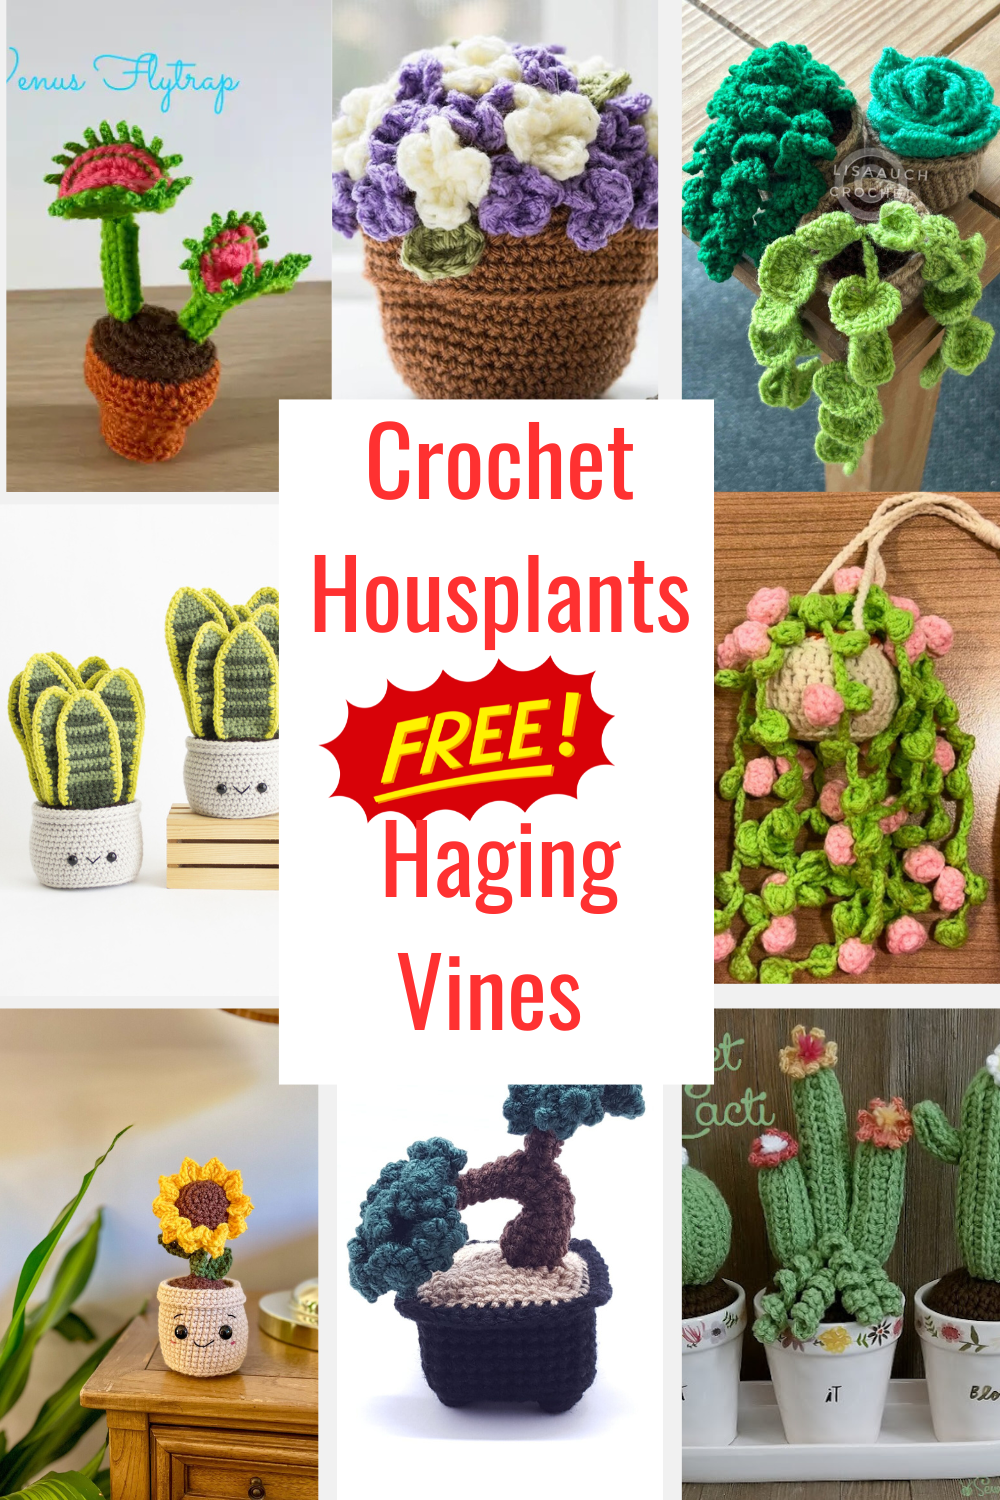
Free Crochet Potted Plant Pattern
If you’re hunting for a crochet potted plant pattern FREE that is a unique crochet gift ideas for plant lovers, then this is the perfect choice.

This written amigurumi potted plant pattern will guide you through the process easily.
This little amigurumi crochet plant in a pot is quick, cute, endlessly customizable, with step by step photos, detailed instructions making it a beginner-friendly project.
Disclosure: This post may contain affiliate links. I may earn a small commission at no extra cost to you. All opinions are my own.
Table of contents
The long leaves of the crocheted plant are all green and different lengths, but you could make them in any colour or You could add small, tiny crochet flowers onto the long green leaves, adding some greenery to your home decor
This is beginner friendly crochet pattern works up fast using small bits of yarn and basic stitches.
A crocheted plant is perfect for teacher appreciation gifts and is a perfect addition to any classroom.
As these little crochet plants never wilt, never need watering, and always stay picture-perfect on a shelf or windowsill.
Bonus: it makes a brilliant seller for craft fairs, especially when featuring the latest crochet potted plant pattern designs.
Finished SIZE: 4.5 inches WIDE 5 inches Height
Materials Required to crochet the Plant and Pot
Any Double Knit (DK) weight of yarn , 50 grms GREEN Yarn (LEAVES) , 25 grams Dark BROWN Yarn (SOIL/ DIRT ), 50 grams Light Brown (Light Brown, or colour for POT)
- 3.5mm crochet hook size
- Scissors,
- A piece of cardboard to lay inside the pot to flatten the bottom out. Circle Diameter = 3.5 inches across
- Scissors,
- Tapestry needle/ Yarn needle for sewing
- Around 25 grms of stuffing per pot
Abbreviations (US Terms)
sc = single crochet stitches
sl-st = slip stitches
blo -sc = working in the back looop single crochet
2sc in 1 stitch = inc = increase stitches
NOTES:
Work in continuous rounds; do not join
Place marker in first st for beg of rnd; move marker up as each rnd is completed.
You can BLOCK the Leaves for a straighter leaf, or leave unblocked and it will curl itself slightly
Skill level: You need to know how to crochet in rounds, increacing in single crochet, chaining lengths and working back into the chain created.
FLOWER POT Crochet Pattern /Planter
With Light Brown, ch 2.
Rnd 1: Work 6 sc in first ch.
Rnd 2: Work 2 sc in each st around – 12 sts.
Rnd 3: *2 sc in next st, sc in next st, rep from * around – 18 sts.
Rnd 4: *2 sc in next st, sc in each of next 2 sts, rep from * around – 24 sts.
Rnd 5: *2 sc in next st, sc in each of next 3 sts, rep from * around – 30 sts.
Rnd 6: *2 sc in next st, sc in each of next 4 sts, rep from * around – 36 sts.
Rnd 7: *2 sc in next st, sc in each of next 5 sts, rep from * around – 42 sts.
Rnd 8: *2 sc in next st, sc in each of next 6 sts, rep from * around – 48 sts.
Slst to join !
Rnd 9: ch 1 and work front post Working a back post sc in each st around – 48 sts. Do not join work continuous now
Rnd 10: sc in each st around (48sts)
Rnd 11: *2 sc in next st, sc in each of next 11sts, rep from * around
Rnd 12: Sc in each st around
Rnd 13: *2 sc in next st, sc in each of next 12 sts, rep from * around
Rnd 14: Sc in each st around 56sts
Rnd 15: sc in each st around
Rnd 16: Sc in each st around
Rnd 17: sc in each st around
Rnd 18: Sc in each sc around
Rnd 19: Sc in each sc around
Rnd 20: Sc in each sc around
Slst into next st.TURN your work and work in opposite direction
Rnd 21: Working in front loops only, work sc in each st around
Rnd 22: sc in each st around,slst to join
Rnds 23: Sc in each st around. Slst to join
Fasten off.
Soil
With Darker Brown
ch 2.
Rnd 1: Work 6 sc in first ch. Place marker in first st for beg of rnd; move marker up as each rnd is completed.
Rnd 2: Work 2 sc in each st around (12 sts)
Rnd 3: *2 sc in next st, sc in next st, rep from * around (18 sts)
Rnd 4: *2 sc in next st, sc in each of next 2 sts, rep from
• * around (24 sts)
Rnd 5: *2 sc in next st, sc in each of next 3 sts, rep from * around (30 sts)
Rnd 6: *2 sc in next st, sc in each of next 4 sts, rep from * around ( 36 sts)
Rnd 7: *2 sc in next st, sc in each of next 5 sts, rep from * around (42 sts)
Rnd 8: *2 sc in next st, sc in each of next 6 sts, rep from * around (48 st)
Rnd 9: *2 sc in next st, sc in each of next 7 sts, rep from * around (54sts)
Rnd 10: *2sc in next st, sc in each of next 26 sts*, rep from * around (56 sts )
Assembly of Pot and SOIL
Cut a round piece of cardboard and place into the bottom of the pot, Add stuffing and then sew the SOIL to the POT Along the line before the back loops

Crochet Plant with Long Leaves
Summary Notes: You will make several leaves of the SAME length, and a slip stitch between each leaf, each leaf set decreases by 5 sts LESS than the previous set of leaves just worked. So you will have longer leaves at the beginning and smaller leaves working towards the ends
Ch 99, (98 +1)
ROW 1: sc into the 2nd chain from hook and work sc in each chain to end,TURN (90sts)
Leaf 1 – Leaf 5: Chain 36 sts, slst into the 2nd chain from hook, sc in each stitch until the end, slst to join to the next, st, slst in the the next st. (5 leaves)
Leaf 6 – Leaf 10: Chain 31sts, slst into the 2nd chain from hook, sc in each stitch until the end, slst to join to the next, st, slst in the the next st. (5 leaves)
Leaf 11 – Leaf 15: Chain 26sts, slst into the 2nd chain from hook, sc in each stitch until the end, slst to join to the next, st, slst in the the next st. (5 leaves)
Leaf 16 – Leaf 22: Chain 21sts, slst into the 2nd chain from hook, sc in each stitch until the end, slst to join to the next, st, slst in the the next st. (7 leaves)
Leaf 23 – Leaf 27 : Chain 16sts, slst into the 2nd chain from hook, sc in each stitch until the end, slst to join to the next, st, slst in the the next st. (5 leaves)
Leaf 28 – Leaf 32 : Chain 11sts, slst into the 2nd chain from hook, sc in each stitch until the end, slst to join to the next, st, slst in the the next st. (5 leaves)
Leaf 33 – Leaf 44 : Chain 8 sts, slst into the 2nd chain from hook, sc in each stitch until the end, slst to join to the next, st, slst in the the next st. ( 12 leaves)
Leaf 45 – Leaf 49 : Chain 7 sts, slst into the 2nd chain from hook, sc in each stitch until the end, slst to join to the next, st, slst in the next st. ( 5 leaves) .
LEAVE A LONG TAIL to sew the Plant to secure, if you want the curl left in the leaves jump to assembly of plant
BLOCKING (Optional)

Assembly of The Plant

Starting at the Smallest End (last leaves created, These are the CENTER of the PLANT, Longer leaves will be LAST )
Using the Single crochet ROW 1: Start ROLLING the Leaves around each other working outwards in a spiral building on top of each row making the spiral wider. the first single crochet row, working outwardsuse the LONG tail to secure, the bottom single crochet ROWs together as you work your way around in the spiral to the Longer pieces.
Weave yarn in and out several times for extra security and fasten off weaving in all ends.
Even MORE Crochet Plant Patterns & Amigurumi Plants FREE Patterns

Free Crochet Succulent Pattern – Easy Crochet House Plant

3 Crochet Plant Patterns FREE
Crochet PLANT Patterns FREE

Crochet Leaf Patterns FREE

Hanging mini Sunflower Plant Crochet Pattern FREE

Crochet Vines with Butterflies FREE Pattern
Please READ FULL TERMS and Conditions of USE HERE
Thank you for visiting my website or purchasing a pattern.
It helps me to maintain the website and buy new materials to make even more FREE CROCHET PATTERNS.
As always you are free to make and sell items you have made from the pattern.
You MUST acknowledge LisaAuchCrochet as the original designer.
YOU will NOT copy or distribute the pattern online TEXT OR PDF, in part or whole anywhere else,
NO Factory Distribution nor mass production of any kind.
Happy Crocheting (c)All Rights Reserved LisaAuchCrochet


