
FREE Crochet Doll Patterns
Crochet dolls are one of the most rewarding projects you can make! A perfect mix of creativity, sentiment, and skill.
I’ve gathered the best free crochet doll patterns, and amigurumi dolls to crochet for all skill levels, cute, beginner‑friendly designs

I’ve made many of these dolls myself and gifted them to the kids, and it’s lovely to see that they’ve kept them as a special keepsake and still treasure them years later.
Disclosure: This post may contain affiliate links. I may earn a small commission at no extra cost to you. All opinions are my own.
Whether you prefer making dolls in separate parts and sewing them together, or working all-in-one NO SEW with no seams at all, you’ll find something here to suit your style.
I’ll also share my favourite amigurumi tips for creating dense, gap-free stitches, facial features baby-safe embroidered eyes, and hair that’s as fun to style as it is to make, so you can bring each doll’s personality to life.
What you will find on this page
- Free crochet doll patterns — from separate-part amigurumi to no-sew, all-in-one designs.
- Beginner-friendly tips on crocheting your stitches tight with no holes in you amigurumi using the Yarn Under stitches, invisible decreaces French Knot eyes, and different ways to crochet doll hair.
When my niece got a new pram and asked for a doll, I went on a serious hunt for the cutest and clearest free crochet doll patterns and designed several crochet doll patterns
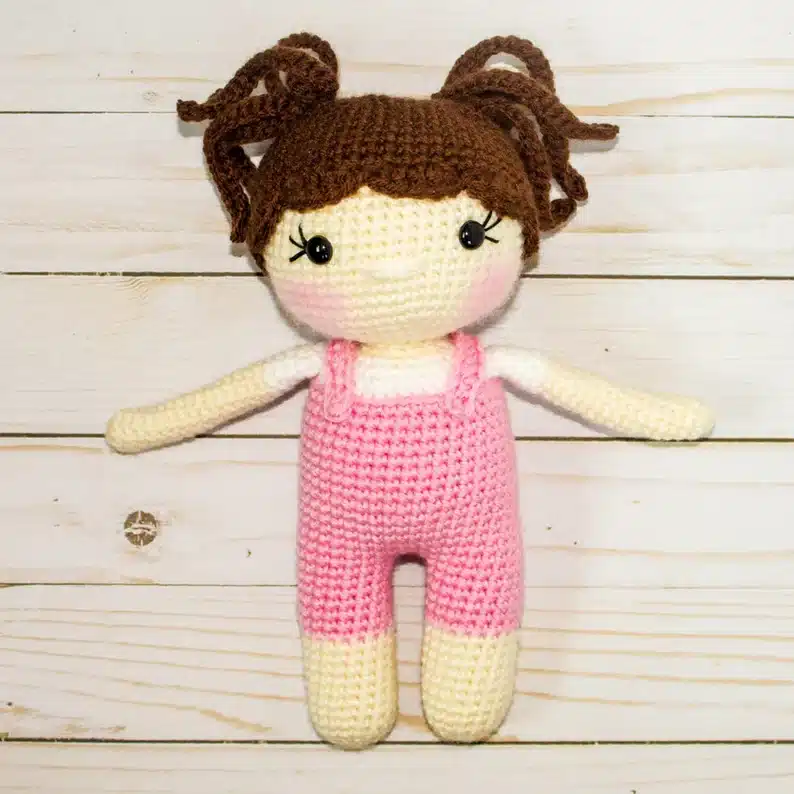
Basic FREE Crochet Doll Pattern (EASY)

Free Crochet Doll Pattern (Easy Amigurumi Doll for Beginners)
This little doll stands 14 inches high once made, with removable outfits for fun dress-up times
Large Crochet Doll Pattern No SEW

This Amigurumi Basic doll is Crocheted in chunky yarn (or you can use any yarn you wish) from the legs up,
Approximate Finished Sizes
Using blanket-type chenille yarn: 18.5 inches tall (from top of bun to feet)
Using worsted/Aran weight yarn (2 strands held together): 12 inches tall
What materials do I need to crochet a doll?
Here’s my go-to list for doll-making, with links to where I source mine:
BEST Yarn for crocheting Dolls in a variety of skin color yarn (see my favourite yarns to crochet DOLLS on Amazon):
- Cotton yarn — great stitch definition, holds shape well.
- Acrylic yarn — softer and more affordable.
- Worsted weight yarn usually works best for most patterns.
- I LOVE the Chenile Dolphin Baby Yarn for making soft plushie dolls
Hook (My trusted crochet hooks are my aluminum steel hook set):
- ALWAY Use a size 0.5–1 mm hook smaller than the yarn label suggests (usually 2.5–3.5 mm crochet hook if using Dk/worsted etc) to make tight stitches.
Stuffing (polyester stuffing fiberfill):
- Stuff firmly but evenly to avoid lumps.
- Tapestry needle for finishing your doll and adding features
Eyes & Features ():
- Safety eyes for ages 3+, or embroidered eyes for baby-safe dolls. (see Below)
Even MORE FREE Patterns for Crochet Dolls

The Friendly Molly

Easy Crochet Doll Tutorial: Amigurumi Advent Calendar CAL Week 1

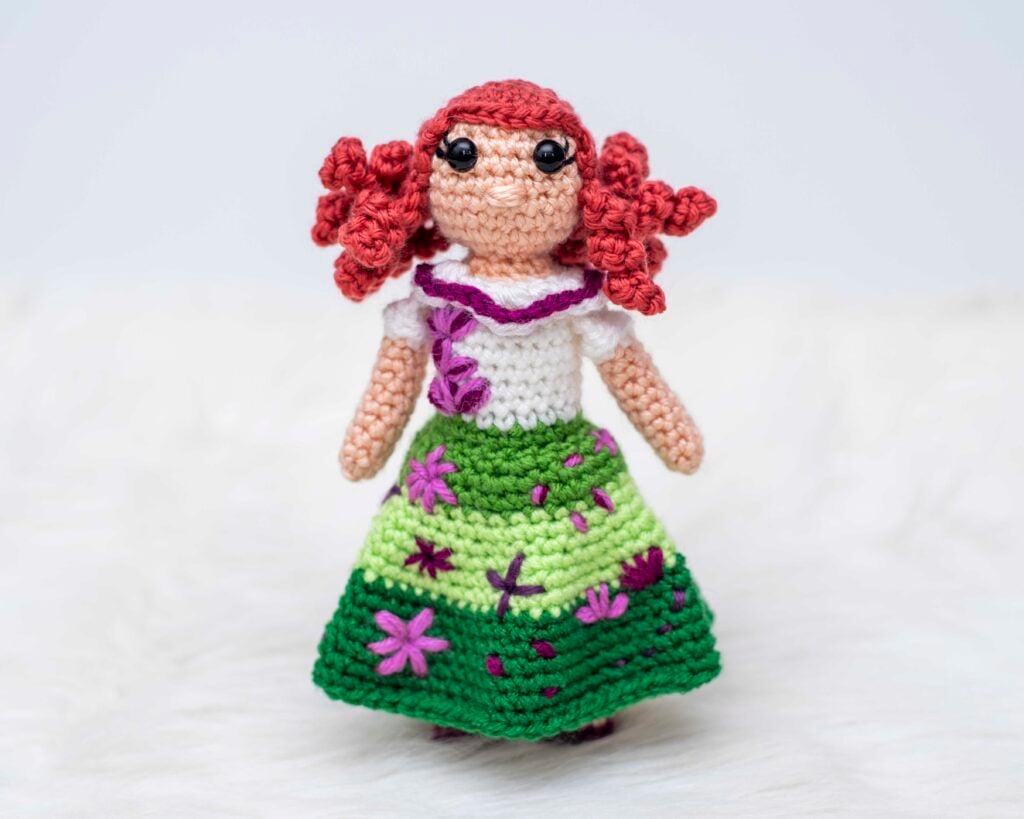
Free fairy doll crochet pattern
Free Doll Crochet Pattern – Olivia the Crochet Doll

The Wedding Dolls! ~ Hook and Stitch Crafts
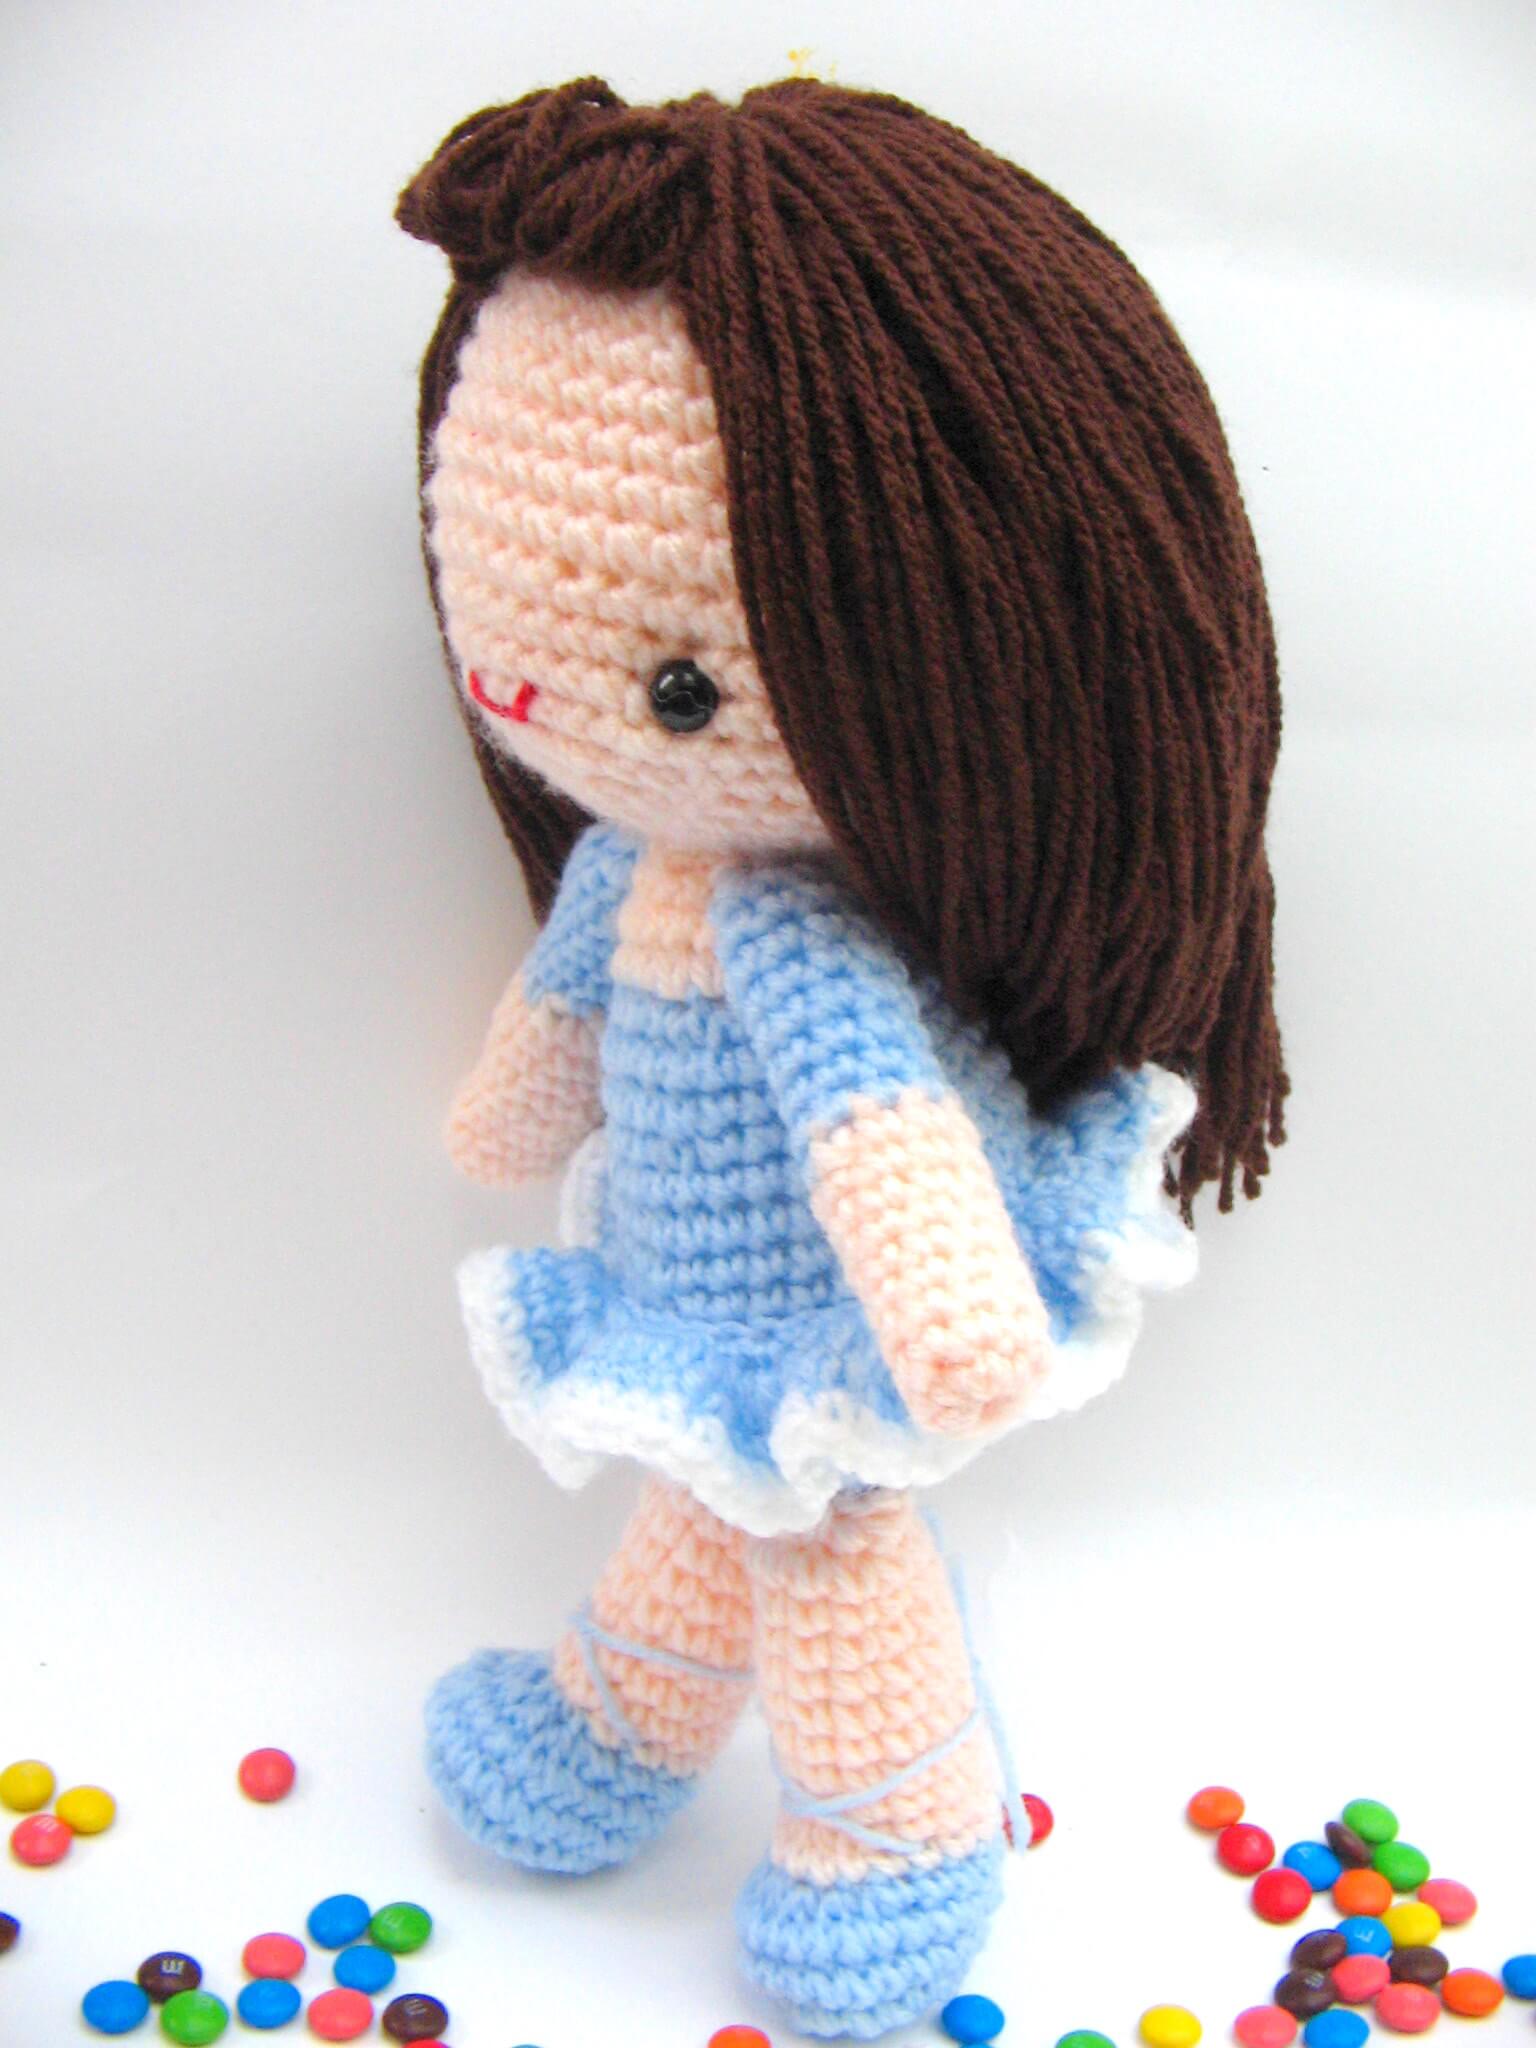
Ballerina crochet doll amigurumi pattern Jenny & Teddy

Amy, the Amigurumi Doll Free Pattern

Becky’s Basic Doll pattern by Becky Ann Smith

Pookie Doll pattern by Kelli’s Kreations

Fashion Doll Free Pattern

Amigurumi Playtime Sally Doll w/ Clothes FREE pattern

Weebee Standard Size Baby Doll pattern by Laura Tegg

Crafter Granny pattern by Zhaya Designs
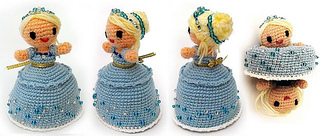
Magic Cinderella pattern by Irene Kiss
How do I make my doll fabric tighter so stuffing doesn’t show?
Use the Yarn Under Single Crochet technique instead of the standard Yarn Over. It naturally makes the stitches denser and the fabric firmer perfect for amigurumi.
1: Yarn Under Single Crochet for Amigurumi
Why it matters: Creates a dense, gap-free fabric that keeps stuffing hidden and gives dolls a smooth finish.
How to Yarn Under (YU sc):
- Insert hook into the stitch.
- Yarn under – bring yarn from front to back under the hook.
- Pull up a loop (2 loops on hook).
- Yarn under again, pull through both loops.
Tips:
- Use YU sc consistently throughout the project.
- Still seeing stuffing? Drop your hook size by 0.5–1mm hook.
- Stuff as you go for narrow limbs.
How to Crochet Invisible decreace
why it matters: In amigurumi, a standard decrease can leave small gaps where stuffing peeks through. The invisible decrease keeps the fabric smooth and tight, which is especially important for doll heads and limbs.
How to do an Invisible Decrease (inv dec):
- working in single crochet stitches, Insert your hook under the front loop only of the first stitch.
- Without yarning over, insert your hook under the front loop only of the next stitch. (You’ll now have 3 loops on your hook — two are from the front loops you just picked up, one is your working loop.)
- Yarn over and pull through the first two loops on your hook. (Now you have 2 loops left.)
- Yarn over again and pull through both loops to finish the stitch.
Pro Tips:
- Always work decreases the same way throughout a project for a consistent look.
- For right-handed crocheters, front loops are the ones closest to you; for left-handed crocheters, the same applies — the “front” is the side facing you.
- Use the same hook size and tension as the rest of the doll to avoid bumps.
- Use stitch markers
How do I make eyes for a baby-safe crochet doll?
The French Knot embroidery method is my favourite , no plastic pieces, and you can make them any size or colour you want.
2: French Knot Eyes for Amigurumi
Why use it: Baby-safe, customisable, and gives your doll more personality.
How to:

- Thread needle with 12–18″ of black embroidery floss or thin yarn. Knot one end.
- Mark eye spots with pins for even spacing.
- Bring needle up from the back/bottom of the head to the eye spot.
- Wrap thread around the needle 2–3 times.
- Insert needle back in right next to the exit point.
- Pull through slowly until the knot sits neatly on top.
- Repeat for second eye, matching position.
Pro tips:
- Use dark brown or grey for softer looks.
- Add a tiny white stitch for a “light reflection” highlight.
How do I add hair to my crochet doll?
You can either attach strands directly to the head or make a separate wig cap and sew it on — like in my ballerina doll pattern.
3: How to Make Hair for your Crochet Doll

Method 1: Direct Strand Attachment
- Cut yarn strands twice the desired hair length.
- Insert hook into a head stitch.
- Fold strand in half, pull loop through stitch.
- Pull ends through loop and tighten (lark’s head knot).
- Work from hairline to crown, then trim or style.
Method 2: Crochet Wig Cap

- Crochet in the round, increasing until it fits snugly over the head.
- Work even rounds until desired cap length.
- Attach strands to the cap or embroider hair texture.
- Sew cap to doll head securely.
Pro Tips:
- Mix yarn shades for realistic colour depth.
- Use steam or curl methods for wavy/curly styles.
- Keep hairstyles secure for young children’s dolls.
NO sew crochet Toy Patterns

Please READ FULL TERMS and Conditions of USE HERE
Thank you for visiting my website or purchasing a pattern.
It helps me to maintain the website and buy new materials to make even more FREE CROCHET PATTERNS.
As always you are free to make and sell items you have made from the pattern.
You MUST acknowledge LisaAuchCrochet as the original designer.
YOU will NOT copy or distribute the pattern online TEXT OR PDF, in part or whole anywhere else,
NO Factory Distribution nor mass production of any kind.
Happy Crocheting (c)All Rights Reserved LisaAuchCrochet


