
Free Crochet Daisy Granny Square Bandana Pattern (Easy Headscarf Tutorial)
Learn how to crochet a beautiful Daisy Granny Square Bandana with this free crochet pattern. Using full Daisy Granny Squares and matching half daisy triangle granny squares, you’ll create a lightweight crochet headscarf that’s perfect for summer, festivals, beach days, or everyday wear.
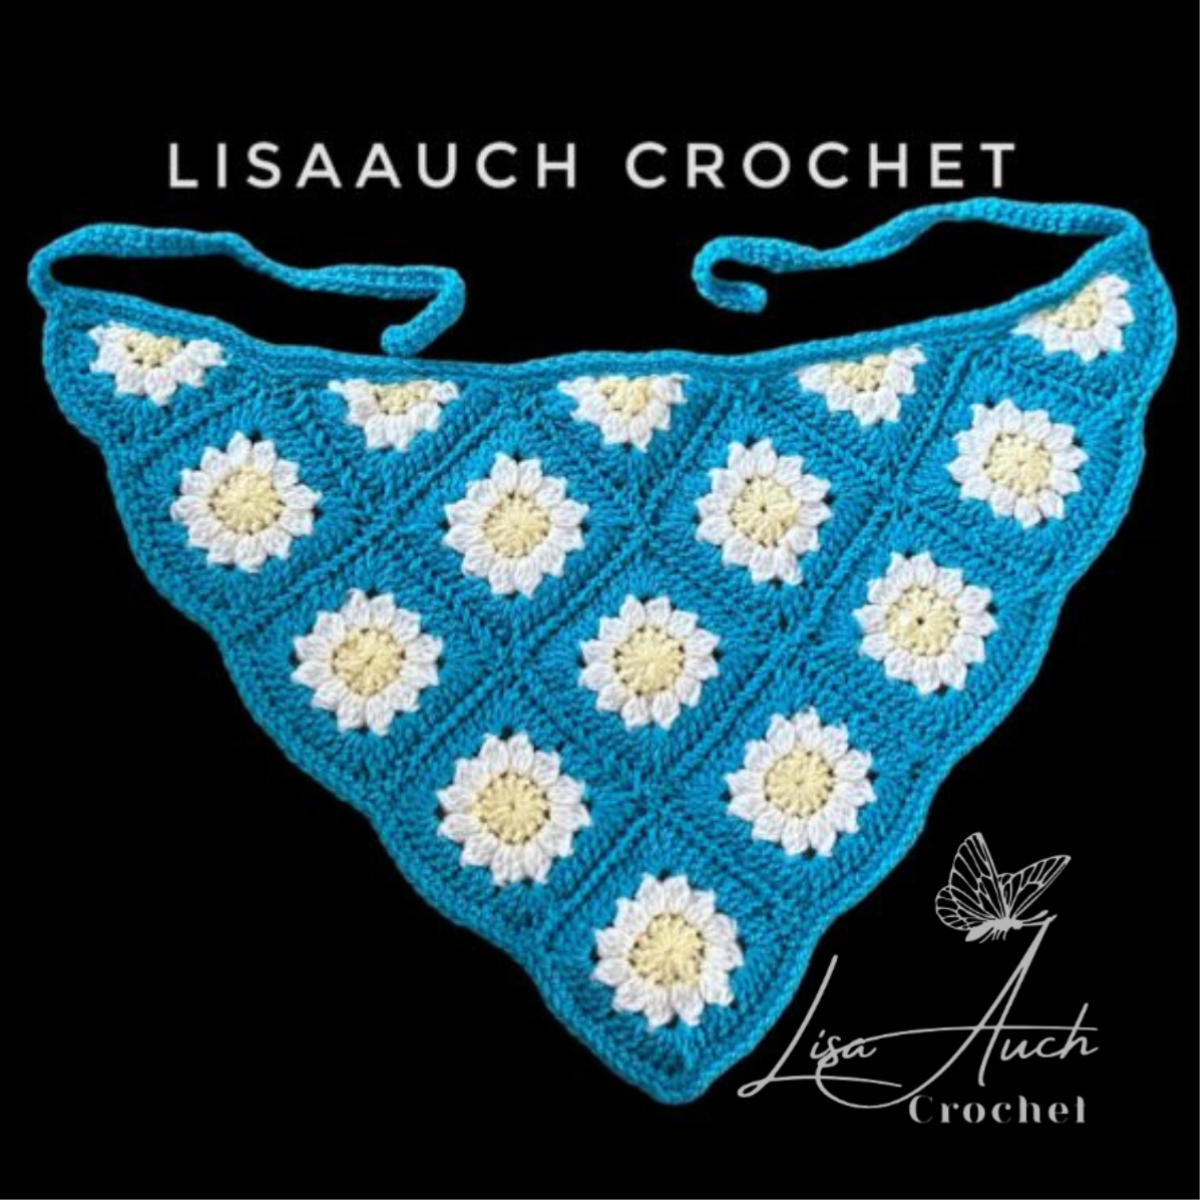
This tutorial includes full written instructions, layout diagrams for child, teen, and adult sizes, plus finishing tips for a neat professional result.
This free crochet pattern includes step-by-step instructions, layout diagrams for child, teen, and adult sizes, plus an easy edging that creates neat ties and a professional finish.
Disclosure: This post may contain affiliate links. I may earn a small commission at no extra cost to you. All opinions are my own.
The pattern begins with the Half Daisy Triangle Granny Square, followed by the Full Daisy Granny Square, assembly instructions, and finally the edging and tie.
If you’ve already made my popular Daisy Granny Square, this project is the perfect way to turn those floral motifs into a wearable crochet headscarf that’s lightweight, comfortable, and ideal for spring, summer, festivals, or everyday wear.
- Skill: Easy
- Finished Item: Granny Square Bandana
- Yarn: DK / Light Worsted (#3) Hook: 4 mm
- Construction: Full & Half Granny Squares Crochet Terms: US Sizes: Child, Teen & Adult
Before making the bandana you’ll first need to crochet several Daisy Granny Squares.
If you’ve never made one before, follow my detailed How to Crochet a 12 Petal Daisy Granny Square tutorial, which includes step-by-step photos for every round.

You require several triangle Daisies and Daisy flower squares. Depending on what size you are making, see the layouts for the flower Granny Square Headscarf below.
Materials Required
- DK yarn (great Stashbusting crochet project)
- 4 mm hook
- yarn needle
- scissors
| Abbreviation | Meaning |
|---|---|
| beg | Beginning |
| ch | Chain |
| ch-sp | Chain Space |
| dc | Double Crochet |
| 3DCcl | 3 Double Crochet Cluster (dc3tog worked into the same space) |
| rep | Repeat |
| rnd | Round |
| RS | Right Side |
| sc | Single Crochet |
| sk | Skip |
| sl st | Slip Stitch |
| sp | Space |
| st | Stitch |
| sts | Stitches |
| tr | Treble Crochet (if used for variations) |
| WS | Wrong Side |
| YO | Yarn Over |
Pattern Note: Throughout this pattern, the 3DC-cl (3 Double Crochet Cluster) stitch creates each daisy petal.
How to crochet 3DC Cluster crochet stitch written as – 3DC-cL
- Yarn Over, insert hook in space, Yarn Over, draw up a loop,
- Yarn Over, draw through 2 loops. (2 loops left on hook)
- Yarn Over, insert hook back into same space,
- Yarn Over, draw up a loop,
- Yarn Over, draw through 2 loops. (3 loops left on hook)
- Yarn Over, insert hook back into same space,
- Yarn Over, draw up a loop, Yarn Over, draw through 2 loops. (4 loops left on hook) Yarn Over, and draw through all 4 loops.
- for the Beginning of the ROW you will Ch to start (this acts as the first stitch of the cluster
- (you can use any yarn and hook as long as you take into account the final size of your squares.
- If using a thicker heavier yarn I have included layouts to compensate for this (Small, Medium layouts for the Granny Flower Bandana headscarf)
Pattern Notes
Before you begin, read through these notes to help your project come together smoothly.
- This pattern is written using US crochet terminology.
- The bandana is constructed using full Daisy Granny Squares and half triangle Daisy Granny Squares.
- The half triangle motifs are worked flat, turning your work at the end of each row.
- The full granny squares are worked in joined rounds.
- Fasten off and change colours at the end of each colour round unless otherwise stated.
- Weave in your yarn ends as you go to reduce finishing time.
- The finished size of your bandana will depend on your yarn weight, hook size, and individual tension.
- Blocking all motifs before joining is highly recommended for the neatest finish.
- Layout diagrams for Child, Teen, and Adult sizes are included below.
- The top edge is finished with a slip stitch border, while the sides are edged in single crochet to smooth the triangle shape and create the ties.
- Because the top edge is made from half granny squares, you may need to occasionally skip or add a stitch while working the edging to keep the edge straight and even.
- You can easily make a larger bandana by crocheting larger granny squares or by adding additional rounds to each full and half motif before assembly.
Finished Sizes
The finished size of your Daisy Granny Square Bandana will vary depending on your yarn, hook size, and individual crochet tension.
Individual Daisy Granny Square Size
The measurements below are based on using DK (Light Worsted #3) yarn with a 4.00 mm crochet hook.
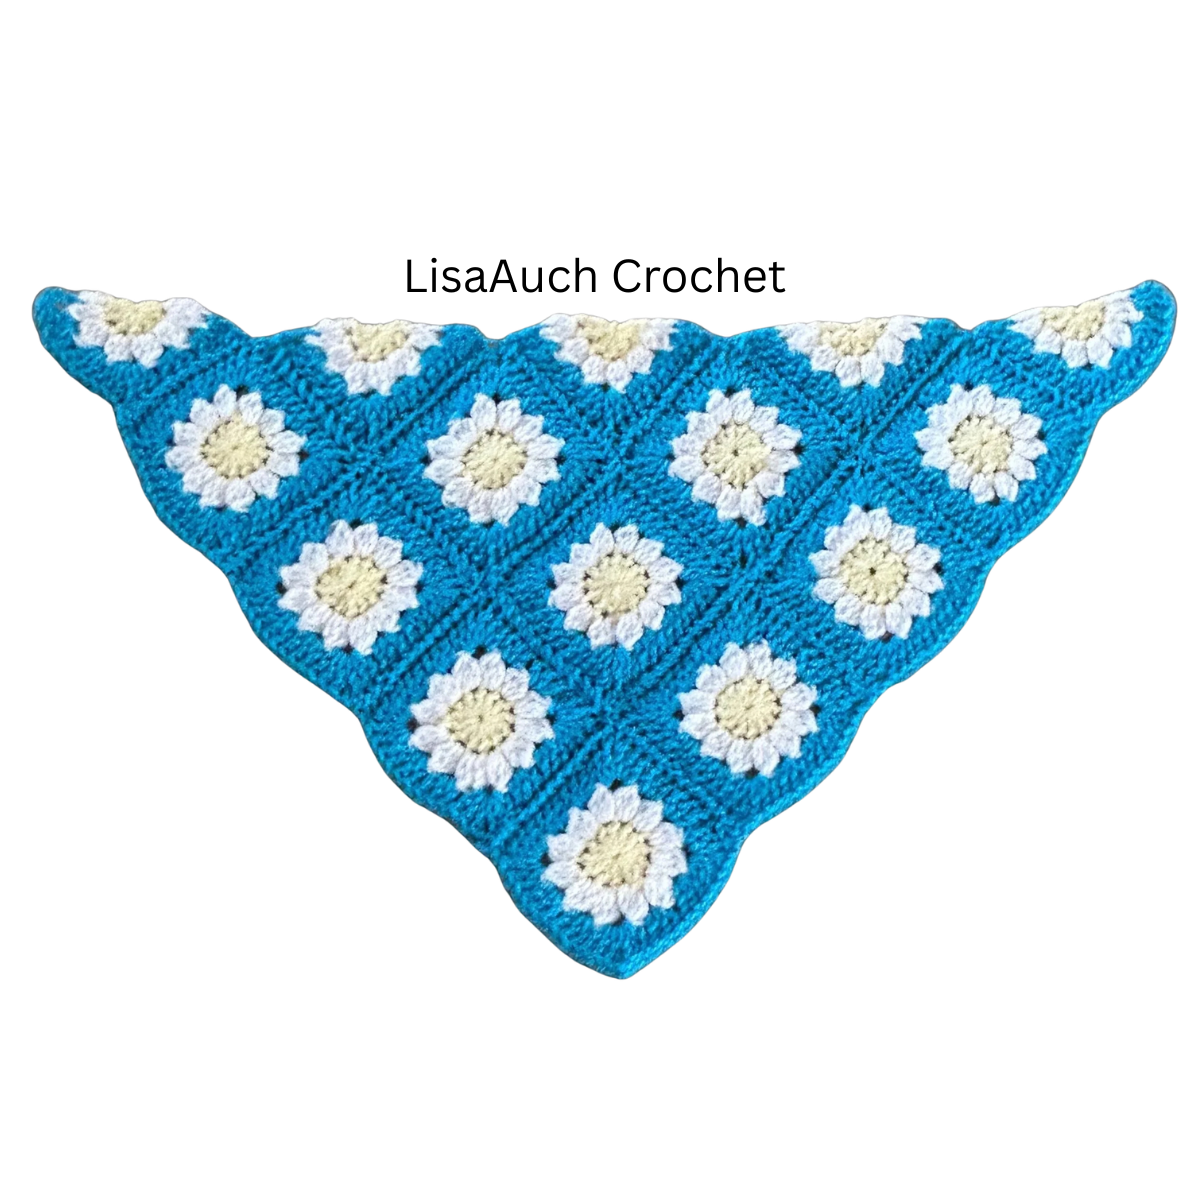
- Approx. 2.75 inches (7 cm) square before blocking
I made the Adult Bandana (Large)
Measurements before blocking and before stretching:
| Measurement | Size |
|---|---|
| Width (without ties) | 19½ inches (50 cm) |
| Depth (centre to point) | 12 inches (30.5 cm) |
| Each Tie | 10 inches (25.5 cm) |
| Total Width Including Ties | 39½ inches (100 cm) |
Tip: Blocking will help open up the stitches, flatten the granny squares, and give your finished bandana a little extra width.
Choosing Your Bandana Size
The number of granny squares you’ll need depends on the finished size of each motif. If you’re using thicker yarn or a larger hook, you may need fewer squares. Likewise, finer yarns may require additional motifs to achieve the same fit.
Child (Small) (dog neck Bandana) You’ll need:
- 3 Full Daisy Granny Squares
- 3 Half Daisy Triangle Granny Squares
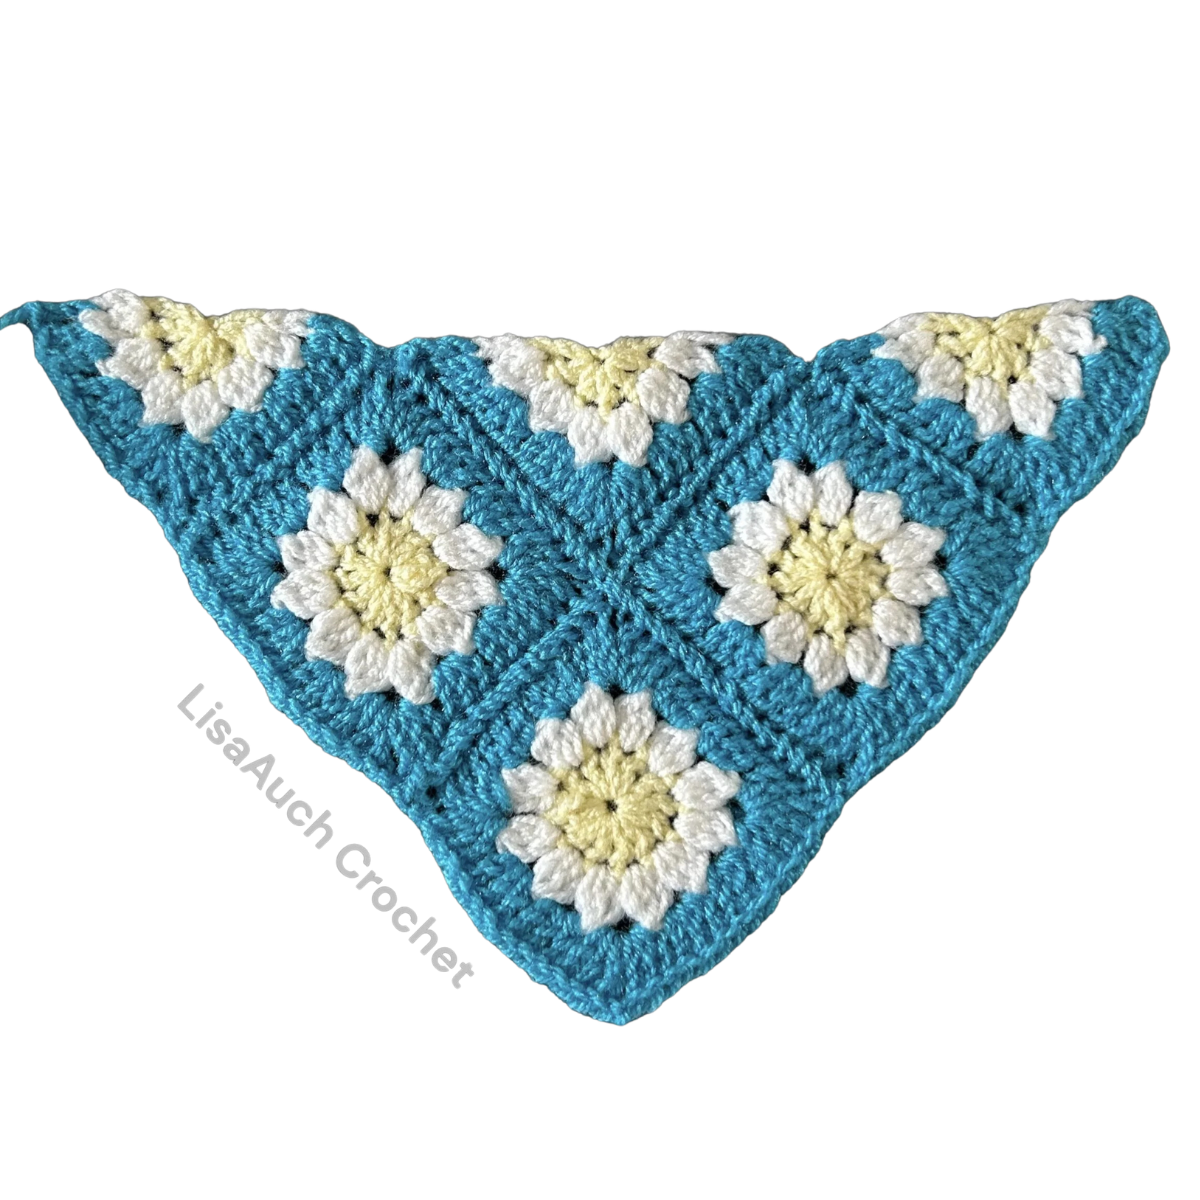
Teen (Medium)
You’ll need:
- 6 Full Daisy Granny Squares
- 4 Half Daisy Triangle Granny Squares

Adult (Large)
You’ll need:
- 10 Full Daisy Granny Squares
- 5 Half Daisy Triangle Granny Squares
Good to know: The layouts remain exactly the same whether you use Daisy Granny Squares or traditional granny squares, and half granny sqaures. Only the finished size of each square changes depending on your yarn and hook, so always check your measurements before joining the motifs.
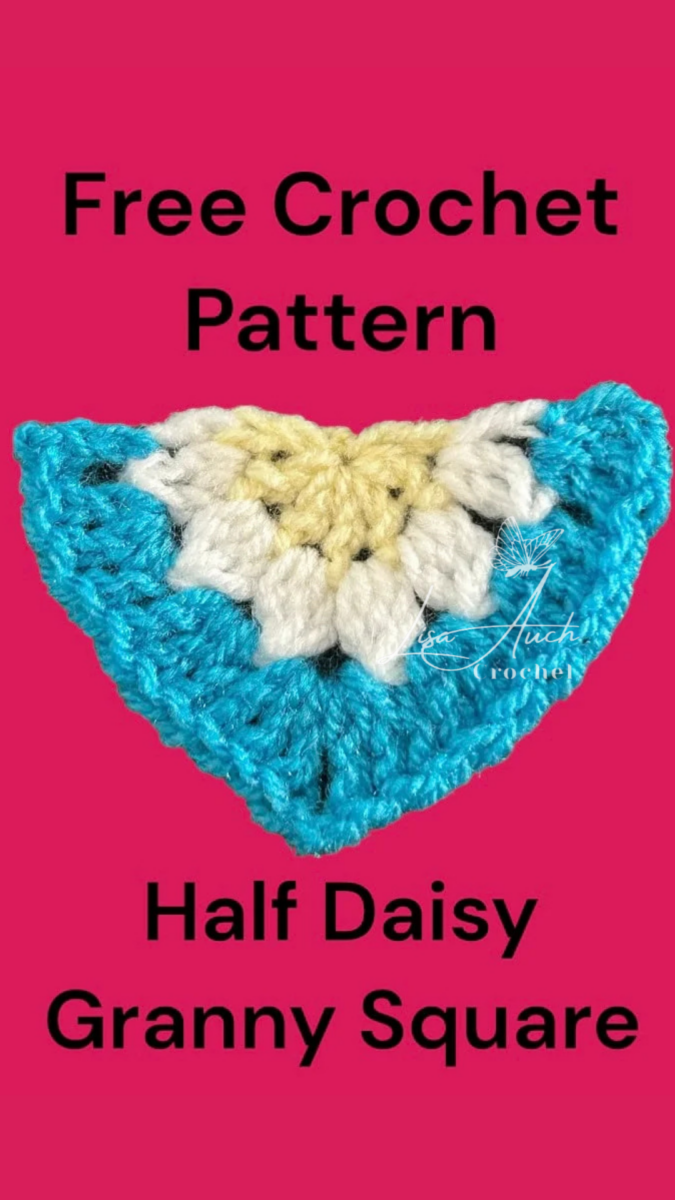
How to Crochet the HALF Daisy Granny Square Triangle

- Start each ROW at the SAME side
- The chain at the beginning is to let us have a neat edge and make it easier to work through when making our headscarf
- Cluster st = 3DCcl ( work 3dc together)
Row 1: in yellow start with the magic ring Or chain 3 and work 6 Dc into the ring first chain. Fasten off
Row 2: (Change color WHITE to by Inserting the hook into the top of the chain st, and pull through the new color
Ch3, in the TOP of the first stitch (counts as first dc) 2 clusters all in the first st, *working 3D together (1 cluster made), Ch1,* repeat from * to * end, ch1, and Dc into the TOP of the beginning chain to finish, TURN (6 cluster sts,)
Row 4: (Change colour BLUE by joining into the TOP of the chain at the start.)
working into the 3rd chain of the previous Ch4, work 2dc into the first ch1 space (first 3dc worked) work *3dc into the next ch1 space from previous round*, in the next chain 1 space work 3dc, repeat twice in the next ch1 space work a CORNER [3dc, ch3, 3dc] working along the side *3dc into the next ch1 space from previous round*, in the next chain 1 space work 3dc, repeat * to * until last st and work 2dc into the ch1 space, and dc into the top of very last st.
TURN.
- If you are wanting to make the Daisy Triangle BIGGER
- You will TURN your work working back along the row just made and will continue as you would a normal Granny Square increasing 1 set of 3dc on each side of each row.
FULL Daisy Granny Square Free Written Crochet Pattern
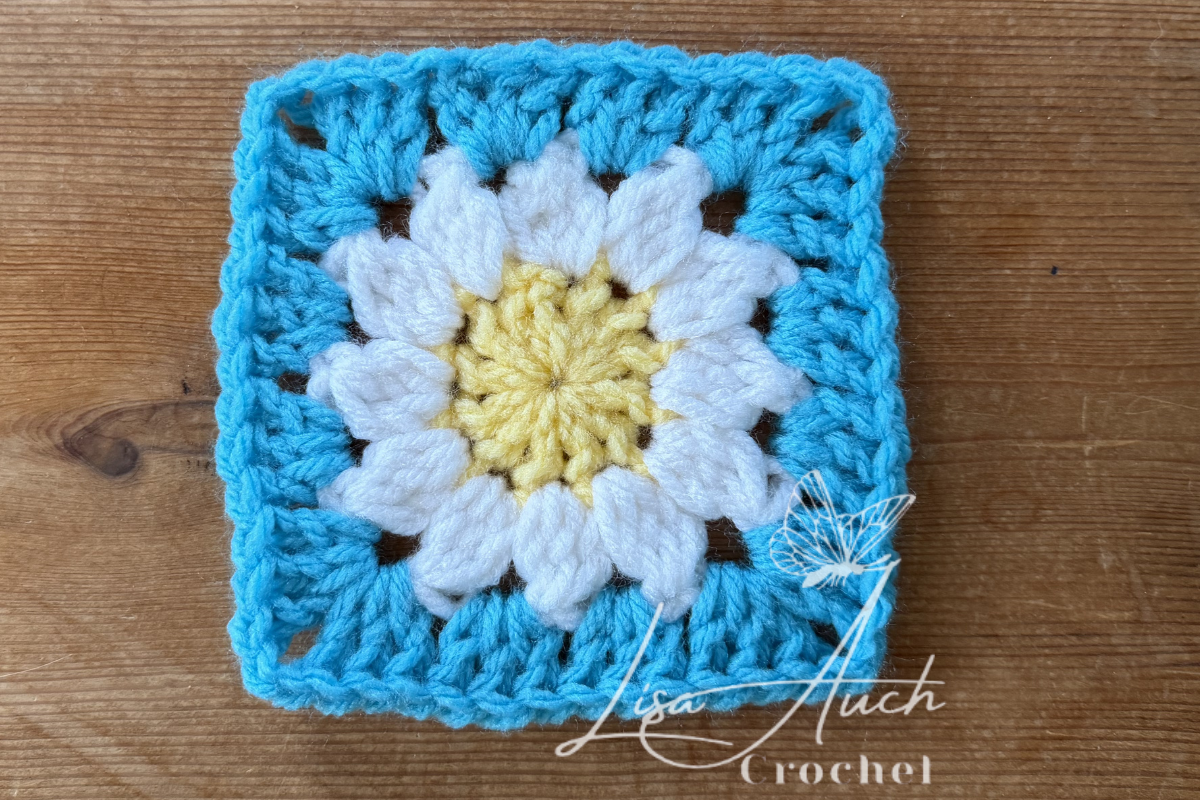
Rnd 3: With your chosen Main colour yarn, (I used BLUE)
join with sl st in any Ch2 sp and ch3 (counts as first dc). 2dc in the same sp, work 3dc in next space.
*(3dc, ch2, 3dc)in next sp (corner), work 3dc in next 2 spaces* repeat from *to* 3 times in total.
3dc, ch2, 3dc in next sp, join with sl st to top ch3.
Continue working in the established Pattern Increasing the number of 3dcs made along each side of the square, and continue working corners as described.
[Slip 3 stitches along to the space just after Round 1s ch3, 2dcs] we will be working INTO the space created by the 3 dcs we worked in the previous round.
ch3 (counts as the first dc). 2dc in the same sp, work 3dc in next 3 spaces ,
*(3dc, ch2, 3dc)in next sp (corner), work 3dc in next 3 spaces* repeat from *to* 3 times in total.
3dc, ch2, 3dc in next sp, join with sl st to top ch3.

TIES
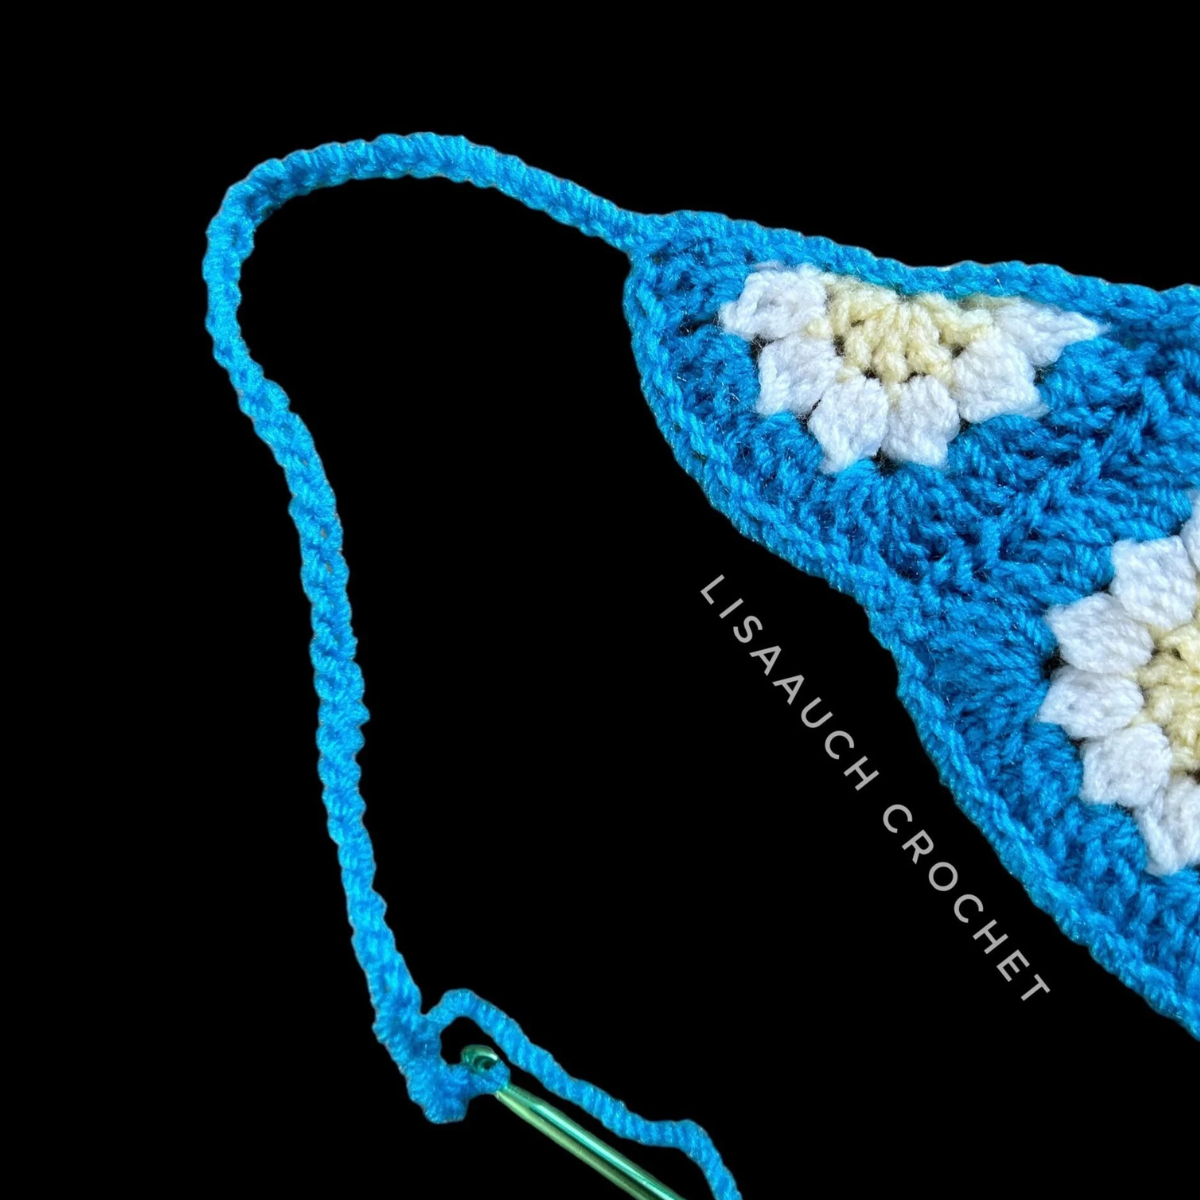
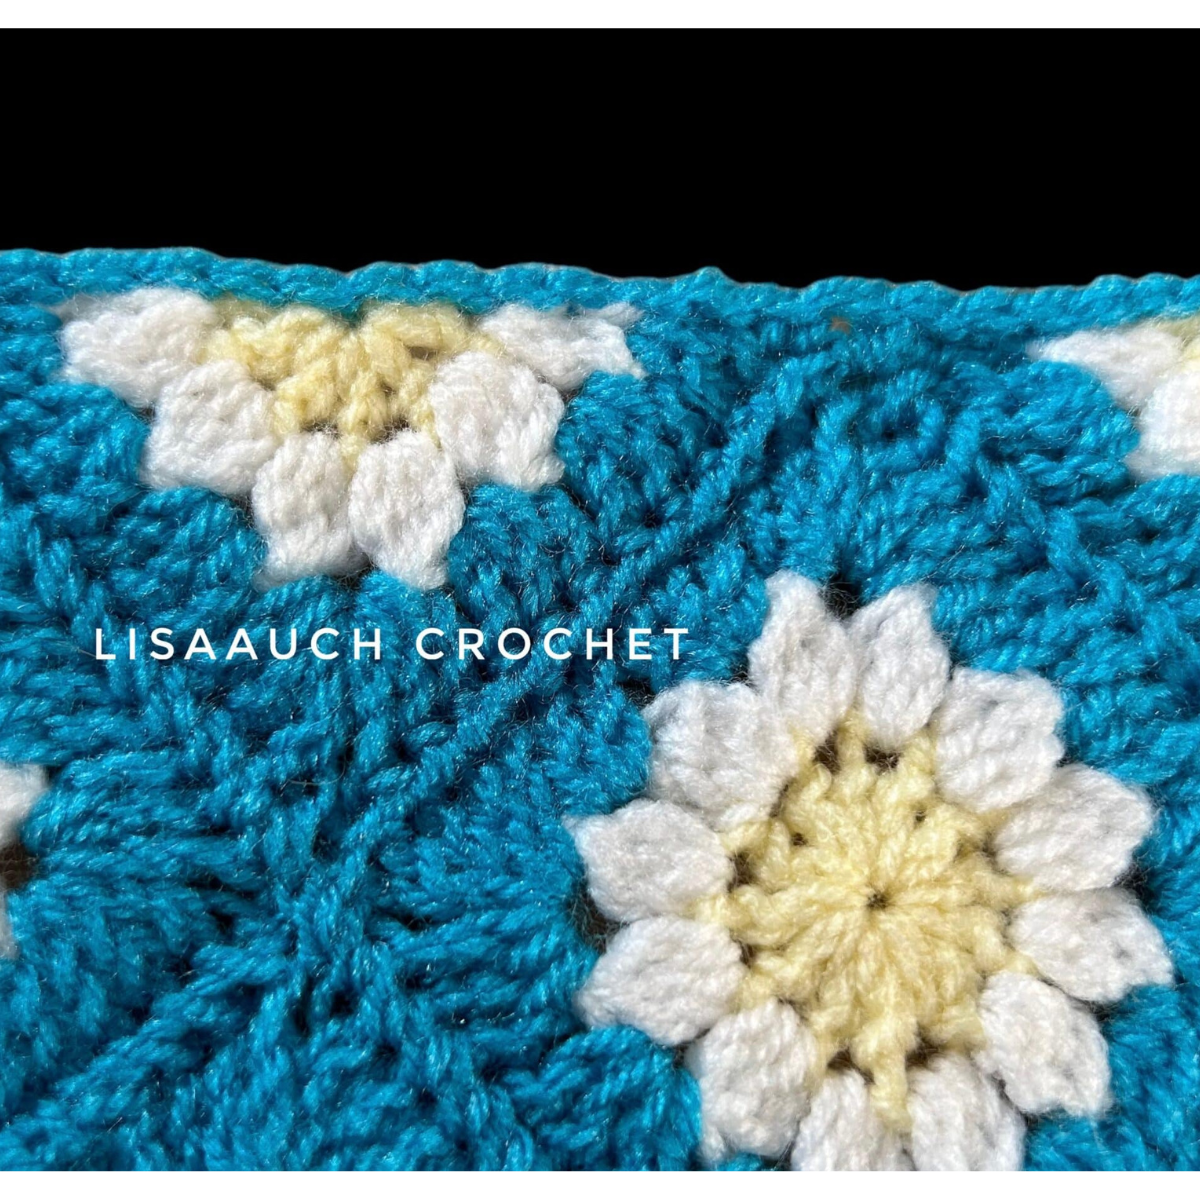
- ch36, starting in 2nd chain from hook, Single crochet back along the second tie.
- Continue working in single crochet Back down towards the point of the headscarf and again work more or skip some stitches to help even out the sides as best you can.
- Working 3 single crochet into the POINT of the triangle and work back up the next side in single crochet.
- slip to the first tie to join and
- fasten off Weaving in ALL ends.
You may make and sell finished items made from this pattern. Please credit LisaAuchCrochet as the original designer.
You may not copy, rewrite, reproduce, redistribute, republish, or upload this pattern, in whole or in part, in any format, including as text, PDF, AI-generated or AI-rewritten content, within an app, or as a video tutorial.
You may not use Reader Mode, Print View, Save as PDF, screenshots, content-extraction tools, or any other method to bypass or remove advertising from this website and then upload, import, reproduce, or make the pattern available through another app, website, platform, or service.
All LisaAuch Crochet photographs and images are copyrighted. You may not copy, download, crop, edit, alter, republish, or use these images except as expressly permitted by the LisaAuch Crochet Pattern Use & Copyright Policy.
Factory production and mass manufacturing of items made from this pattern are not permitted.
For full details, please see:
Happy Crocheting! © All Rights Reserved LisaAuchCrochet