
Easy Crochet Bird Pattern FREE
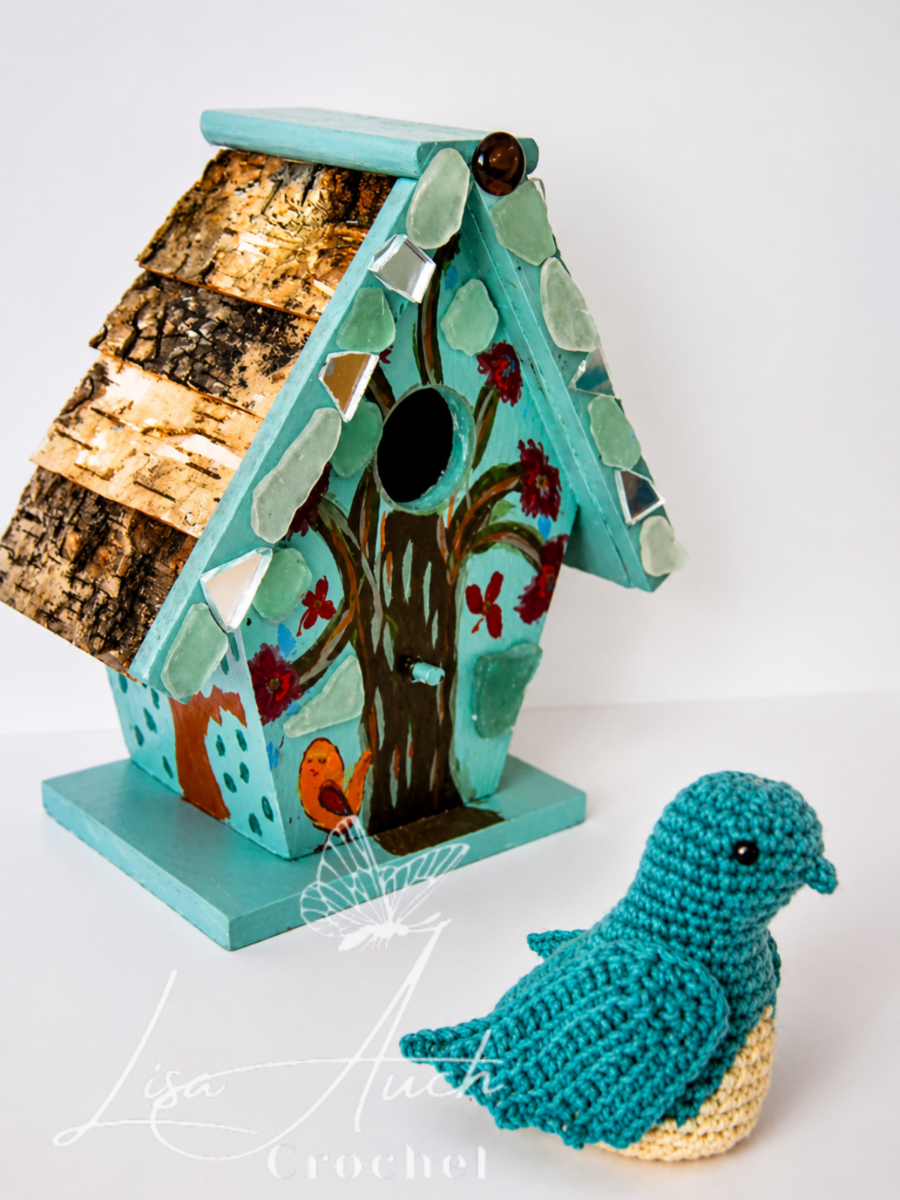
An easy crochet bird pattern, to create an adorable winged amigurumi bird, using simple stitches and easy shaping techniques.
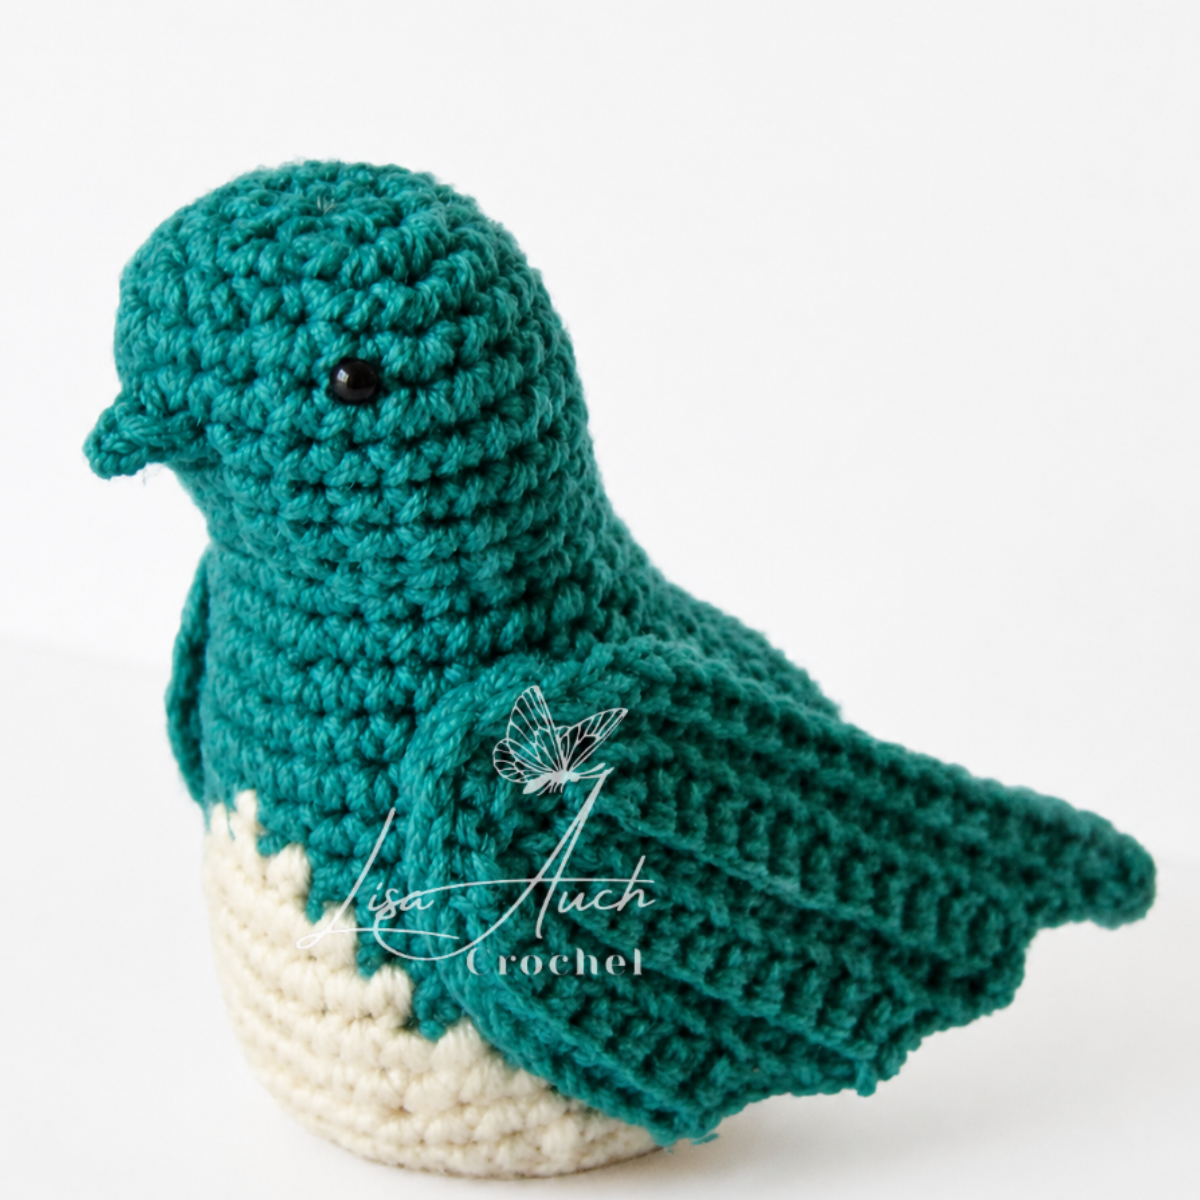
This cute crochet bird pattern is worked in continuous rounds for the head and body, with separate wings, tail, and beak added afterwards.
This free crochet pattern for a bird is Perfect to make for handmade gifts, spring décor, nursery decorations, or toy collections.
Disclosure: This post may contain affiliate links. I may earn a small commission at no extra cost to you. All opinions are my own.
Can you use any yarn to crochet this bird?
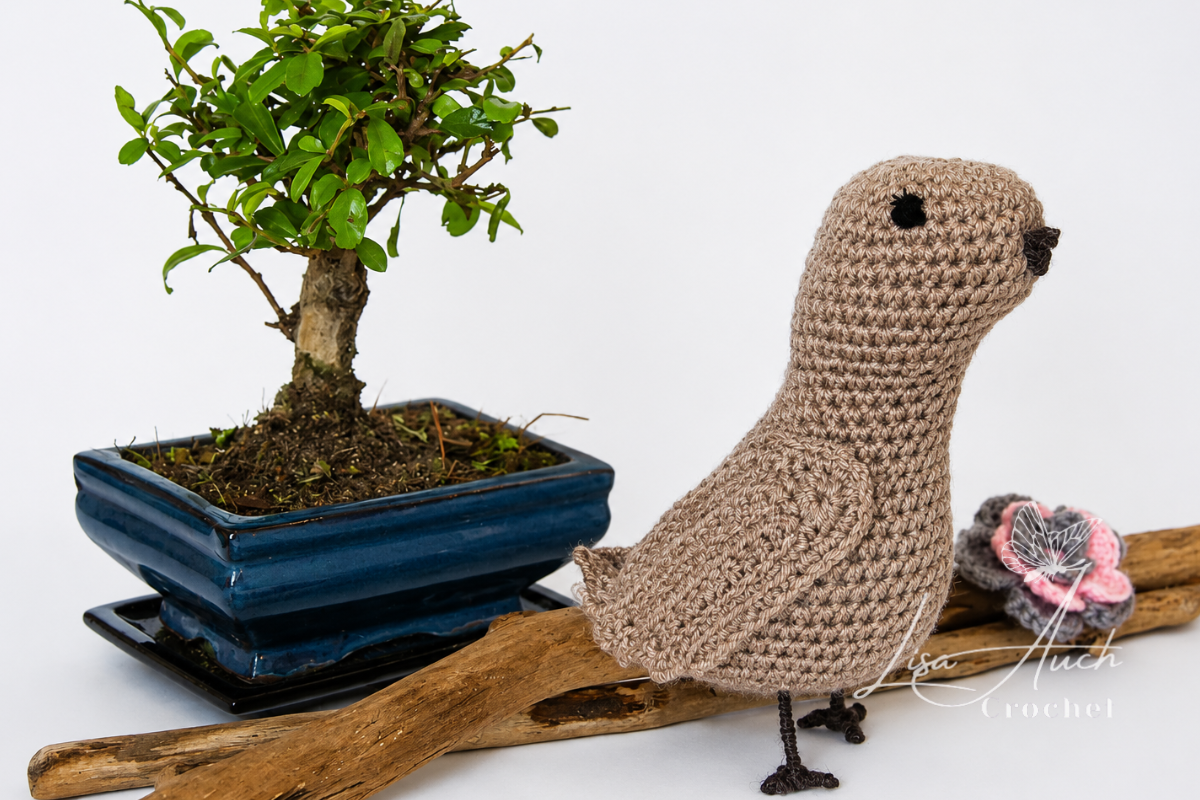
Yes I used DK yarn and a 4.00mm crochet hook and got quite a large bird, as in the image below, but use the YARN UNDER single crochet! to minimise holes in your work.
Materials
- DK yarn (worsted weight yarn also works well)
- 2.50 mm crochet hook
- Stitch marker
- Toy stuffing
- Safety eyes or black yarn for embroidered eyes
- Yarn needle
- Thin craft wire for feet (optional)
Crochet Abbreviations (US Terms)
- Ch – Chain
- Sc – Single Crochet
- Inc – 2 sc in same stitch
- Sc2tog – Single crochet dec/decrease
- Sl st – Slip stitch
- Dc – Double Crochet
Pattern Notes
YOu DO NOT NEED to know how to make a magic circle with this bird pattern
- There is Minimal sewing required
- Work the head and body in continuous rounds.
- Move stitch marker up after each completed round.
- Stuff the bird firmly as you work.
- Wings are worked separately and stitched into place.
Crochet Bird Head and Body
Begin at the top of the head.
Round 1: Ch 3. Work 8 sc into first ch. Place marker in first stitch. (8 sts)
Round 2: 2 sc in each st around. (16 sts)
Round 3: 2 sc in next st, sc in next st repeat around. (24 sts)
Round 4: 2 sc in next st, sc in next 2 sts repeat around. (32 sts)
Rounds 5–9: Sc in each st around. (32 sts)
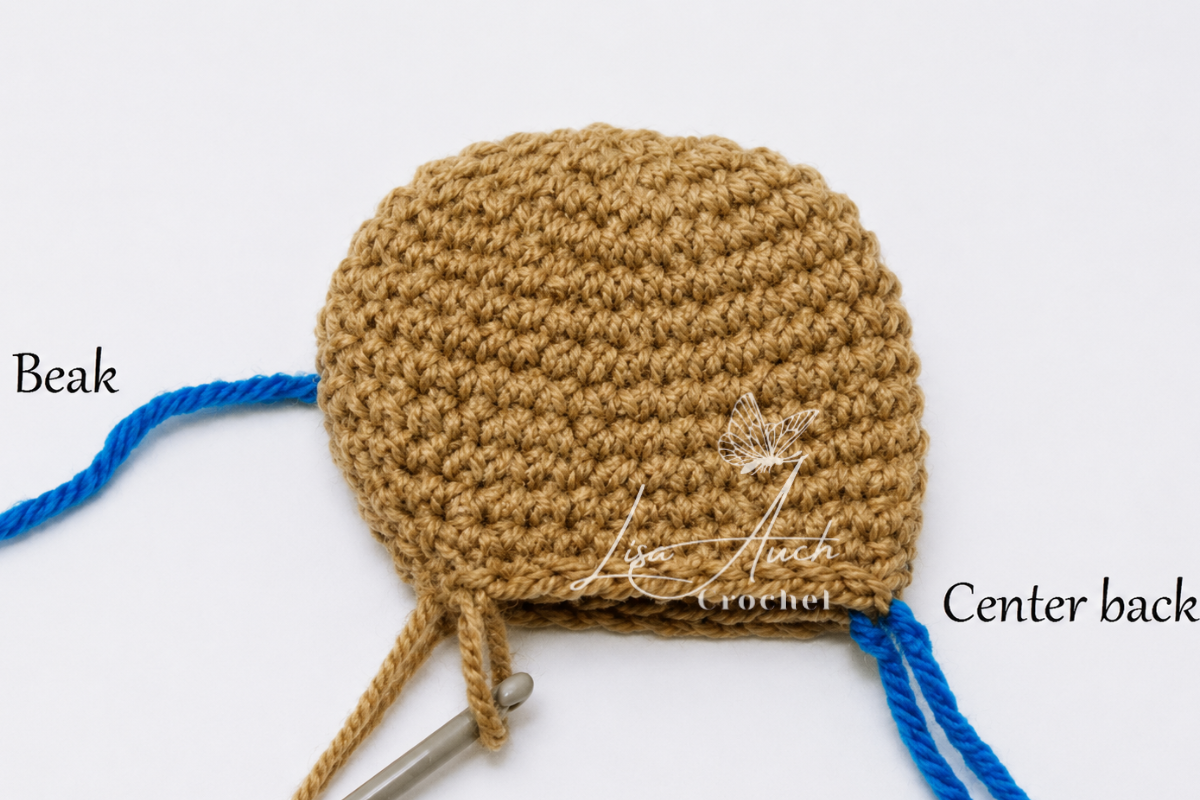
Round 10: Sc, (Place marker around the sc for beak position.) sc2tog, sc to last 2 sts, sc2tog. (30 sts)
Round 11: Sc, sc2tog, sc to last 2 sts, sc2tog. (28 sts)
Round 12: Sc, sc2tog, sc to last 2 sts, sc2tog. (26 sts)
Round 13: Sc2tog 3 times, sc to last 6 sts, sc2tog 3 times. ( 20sts)
Crochet Bird Body
Round 14: Sc around, 2 sc in 10th st and 11th st )place marker Between these sts) , sc to end.
Round 15: Sc, 2 sc in 11th st, sc in nxt st , 2 sc in next st, sc to end.
Round 16: 2Sc in nxt 3 sts, 2 sc in 12th st, sc in nxt 2sts, 2 sc in 15th st, sc .until 1 st remains 2sc, (30sts)
sc in 16sts, 2sc in nxt, sc in nxt 3 sts, 2sc in nxt, sc to last. (32sts)
sc in 17sts, 2sc in nxt, sc in nxt 4sts, 2sc in nxt, sc to last
Rounds 17 to Round 30: Continue working in established pattern, making 2sc in middle of each 2sc of previous round: (until 16sts between the increases.) (58sts)
Rnd 31: sc around, Working single crochet in back loops only (blsc) across the 16 sts inside the V-shape for tail placement later. Continue sc around to the last 4 sts before the front marker.
start Stuffing bird and continue to stuff into shape when working the next fe rounds
Rnd 32: Sc2tog 4 times. *Sc 4, sc2tog* repeat ** around, unti llast 4 sts, 2sctog TWICE
Rnd 33: continue working 2sctog until 10 sts remain. Fasten off.
Stuff bird firmly before continuing.
Crochet Bird Wings
Make 2 wings.
First Wing
Round 1: Ch 3. Work 8 sc into first ch from hook.
Row 1: Ch 13. Sc in 2nd ch from hook and across. (11 sts)
Sl st into next available stitch from Round 1. Ch 1, turn.
Rows 2–5: Sc in back loops only across row.
Ch 3 at end of row.
Work into 2nd ch from hook and continue sc in back loops.
Sl st into next available stitch on Round 1 after each row.
Repeat shaping for 4 rows total.
Wing Edge: Sl st into next available stitch on Round 1.
Work 2 sc in each remaining unworked stitch around Round 1 to shape shoulder.
Sc evenly along lower edge. Fasten off.
Second Wing
Round 1: Ch 3. Work 8 sc into first ch from hook.
Row 1: Ch 18. Sc in back loops only to last 2 sts.Ch 1, turn.
Row 2: Sc to last stitch.Sl st into next available stitch from Round 1. Ch 1, turn.
Rows 3–5: Continue shaping wing by:
- leaving last 2 sts unworked
- slip stitching into Round 1
- turning and continuing rows
Finish Wing: Sl st along next 2 sts. Work 2 sc in each remaining stitch around Round 1. Sc evenly along lower edge.
Finish with 2 foundation single crochet stitches if desired.
Fasten off.
Crochet Bird Beak
Ch 6. Sl st to join.
Fasten off and fold in half and stitch into place at marked beak position.
Crochet Bird Tail (Optional)
Attach yarn to back loops left from Round 30.
Row 1: Dc across row. Ch 1, turn.
Row 2: Work picot edging: Ch 3, sl st into next st repeat across.
Fasten off.
Creating Crochet Bird Eyes
- Attach safety eyes securely.
- Optional:
Use black yarn and French knots for embroidered eyes.
Crochet Bird Feet
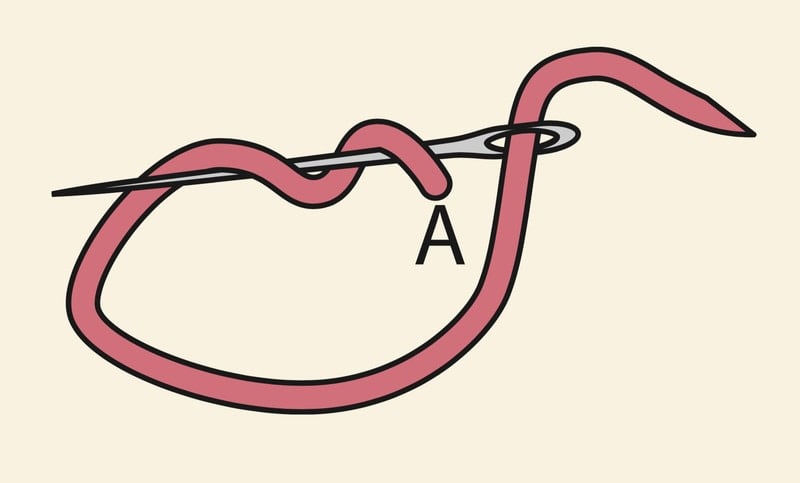
- Twist together 3 thin lengths of wire.
- Insert into base of bird.
- Separate wire ends slightly to help bird stand.
- Wrap with brown yarn to hide wire neatly.
Finishing Your Crochet Bird
- Sew wings securely onto body.
- Shape bird carefully while stuffing for a rounded natural appearance.
- Try changing yarn colours to create different bird varieties inspired by your favourite garden or woodland birds.




You may make and sell finished items made from this pattern. Please credit LisaAuchCrochet as the original designer.
You may not copy, rewrite, reproduce, redistribute, republish, or upload this pattern, in whole or in part, in any format, including as text, PDF, AI-generated or AI-rewritten content, within an app, or as a video tutorial.
You may not use Reader Mode, Print View, Save as PDF, screenshots, content-extraction tools, or any other method to bypass or remove advertising from this website and then upload, import, reproduce, or make the pattern available through another app, website, platform, or service.
All LisaAuch Crochet photographs and images are copyrighted. You may not copy, download, crop, edit, alter, republish, or use these images except as expressly permitted by the LisaAuch Crochet Pattern Use & Copyright Policy.
Factory production and mass manufacturing of items made from this pattern are not permitted.
For full details, please see:
Happy Crocheting! © All Rights Reserved LisaAuchCrochet