How to Crochet a Granny Triangle Pattern FREE (HALF a Granny Square) and turn it into a triangle Headscarf Bandana
If you’re looking to find out how to crochet a triangle granny square then you’ll definitely want to try out this granny triangle pattern, with color changes!.
As the name suggests, it’s a triangular version of the beloved granny square, and it’s a great way to mix things up in your crochet projects.
In this tutorial, we’ll show you how to crochet a granny triangle pattern for free, using just basic crochet stitches, and changing colors for each row.
What is a Granny Triangle, and is it EASY to crochet? A granny triangle pattern is essentially half of a granny square, worked in a triangular shape.
My niece wanted a Granny Square Crochet Bandana Headscarf as part of her aesthetic crochet look for this year’s festival season!. So Of course I had to crochet her one.
To get it to sit right it needed a Half Granny Square Triangle made. As the name suggests, it’s a triangular version of the beloved granny square, and it’s a great way to mix things up in your crochet projects.
If you are looking for a Bandana made from several granny Squares and Triangles Pease visit my popular FREE Granny Square Bandana Pattern FREE HERE
Disclosure: This post may contain affiliate links. I may earn a small commission at no extra cost to you. All opinions are my own.
Firstly I need to work out how to crochet a half-granny Square Triangle.
In this tutorial, we’ll show you how to crochet a granny triangle pattern with step-by-step photos and written patterns.
Even beginners will be able to crochet the Granny triangle!
A few weeks ago I used a Triangle Granny Square for the red white and Blue celebration garland.
But when I used this triangle it didn’t fit my purpose of creating an exact HALF TRIANGLE of the original Granny Square

The Granny Triangle pattern is brilliant for making to fill spaces created when sewing several squares together , usually in garments like cardigans, hats, and bags.
The Triangle creates a better fit for you to create unique and interesting crochet projects, rather than the boxy look from just having several granny squares sewn together.
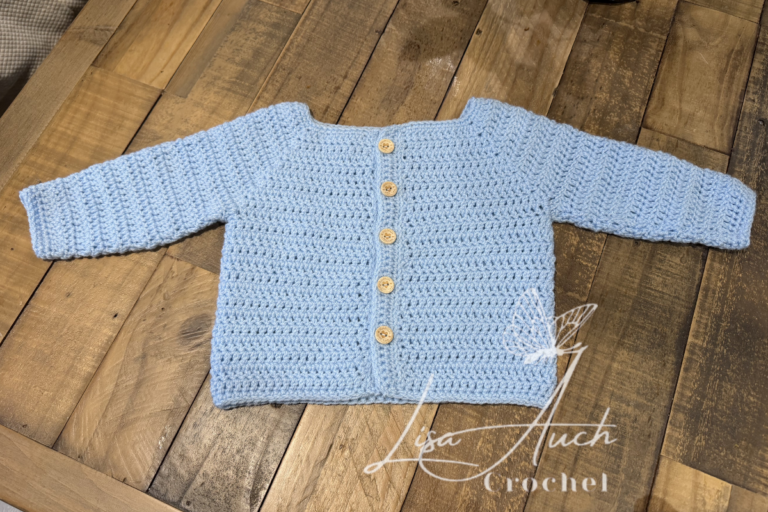
A great example of how to use the granny triangle for sharing is my Sunflower Cardigan pattern where I halved the sunflower Granny Square.
How to Change Colours in the Granny Triangle Pattern
You can crochet the Granny Triangles in ANY color, changing color at the beginning of the next row.
The EASIEST way to Change colors in the Granny triangle is joining NEW yarn at the Start of the Round, Slip through the top of last dc stitch top loop (either sew in the ends or work across to hide the ends)
")
NOTES:
In the Original Granny Square crochet pattern we were working from the Center Out, working along 4 sides.
You will be working in ROWS. Turning your work at each end.
For the Granny Triangle, we will only be working along 2 sides and have 1 center point.
You can begin your Triangle Granny Square, with a Magic Ring, OR if you do not know how to make a magic circle
Chain 4 to start, and work the FIRST round INTO the FIRST chain of Chain 4.
You will TURN your work at the end of Each ROW.
You will work 3dc clusters into the Chain 1 spaces along the 2 sides of the granny triangle Chain 5 at the start of each row acts as a (Dc, Ch1) so to finish a round you will work the LAST dc stitch into the 4th chain.
Abreviations
[ to ] – shows how many stitches and ch, to work into the same space
dc – double crochet
sc – single crochet
Ch – chain
Granny Triangle Pattern FREE Written Crochet Pattern starts HERE
Row 1: ch5, (Counts as first dc and ch1), [3dc,ch1,1 dc,] (CORNER Point), [ ch1, dc ] ALL made into that FIRST circle. Tighten by pulling the long tail, TURN work
Row 2: Ch4 (counts as a Dc, Ch1 space), In the Chain 1 space of the previous round, [3dc, ch1,] jump over to the ch3, (the center point of the triangle) and work [3dc, ch3, 3dc] skip over to the next ch1 space, work [Ch1, 3dc), ch1. and dc into the 4th chain at the end, TURN work
Row 3: Ch5 (counts as a Dc, Ch1 (space for the next row)
In the Ch1 space working along the triangle toward the pointed Ch 3 center [3 Dc, Ch1]
In the Ch3 space (point of the triangle), [3Dc, Ch3, 3Dc]
In the Ch1 space working back down the opposite side of the triangle, [Ch1, 3Dc ] Ch1, Dc in the 4th chain of the Ch5 from the previous row.
Row 4: Ch5 (counts as a DC & Ch1 space for the next row)
In EACH of the Ch1 spaces working along the triangle toward the point center [3Dc, Ch1]
In the Ch3 space (point of the triangle), [3Dc, Ch3, 3Dc]
In EACH of the Ch1 spaces working back down the opposite side of the triangle, [Ch1, 3Dc ] Ch1, Dc in the 4th chain of the Ch5 from the previous row.
")
To Make the Triangle BIGGER you just repeat the last row. until you reach the desired size.
For turning it into a kerchief head scarf continue working until the measures 3 quarters of a way around your head (over the top and behind the ears,
To make the Ties for the Granny Triangle Headband (EASY)
Chain 31, sc into the 2nd chain and work back along the chain to the end.
pick up the triangle Top of The triangle (this is the FROT, across the head)
SC into each stitch along the TOP side of your triangle
Chain 31 and working back along the chain just made sc into the 2nd chain and work back along to the headscarf.
Please Pin this for Later on Pinterest
How about trying the Daisy Flower Headscarf It is also a FREE croche pattern on my website HERE
Thank you for visiting my website or purchasing a pattern. It helps me to maintain the website and buy new materials to make even more FREE PATTERNS. As always you are free to make and sell items you have made from the pattern. But you must acknowledge LisaAuch.com as the original designer. YOU will NOT copy or distribute the pattern online TEXT OR PDF, in part or whole anywhere else, or by creating an online video of my pattern. Without my express written permission. You can share a picture of the finished item. With a link BACK to a Page with my website on it You must NOT use my pictures in any way to sell a finished product. You must use your own. You will NOT copy or duplicate this PATTERN (whole or in part) onto ANY other SITE online. Without my express written permission.
This pattern may contain affiliate links. Where I may make a small commission from your purchase at no extra cost to you
Happy Hooking (c) All Rights Reserved LisaAuch.com

")


")
")
")
")
")
")