FREE Easy Crochet Baby Booties Pattern (4 sizes)
This FREE easy crochet baby booties pattern is perfect for beginners and includes a stretchy ribbed cuff designed to fit comfortably around little ankles.
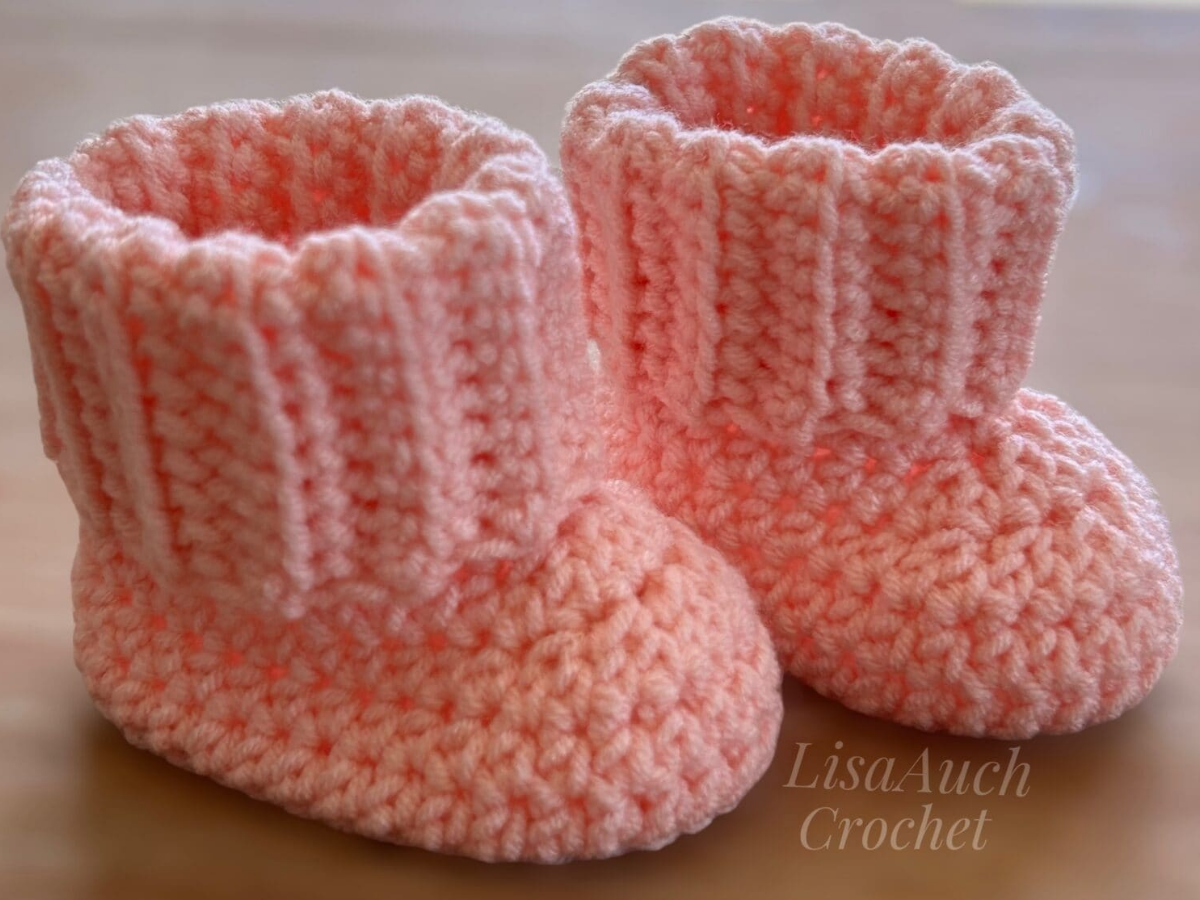
These baby booties use simple crochet stitches and work up quickly, with the ribbed cuff helping them stay snug on little feet.
The step-by-step written instructions include four baby sizes, from newborn to 6–12 months, so you can crochet the perfect pair for your little one or the perfect gift for a newborn baby.
Disclosure: This post may contain affiliate links. I may earn a small commission at no extra cost to you. All opinions are my own.
Out of everything I crochet Baby booties, for keeping babies’ feet warm and cosy, are my favorite!
This is a Fast crochet baby booties pattern, I can make 2 in just under an hour.
This free pattern is written in easy, beginner-friendly US crochet terms and includes four sizes (newborn, 0–3 months, 3–6 months, 6–12 months).
Using DK yarn and a 4 mm hook, you can whip up a pair in just 1–2 hours. These booties make thoughtful gifts, perfect baby shower presents, and are always a hit at craft fairs.
Why You’ll Love This Baby Booties Pattern
- Beginner-friendly – uses simple crochet stitches, including single crochet and double crochet.
- Quick project – crochet a pair in around 1 hour.
- Includes 4 sizes – from newborn through 6–12 months.
- Stretchy ribbed cuff– helps the booties fit comfortably around little ankles.
- Perfect for gifting – lovely for baby showers, new baby gifts or charity donations.
- Great for craft fairs – always a firm favorite crochet baby item to add to your market stall.
You can BUY an AD-FREE printable PDF for BOTH Baby Hat and BOOTIES directly from RAVELRY with View the Pattern Page HERE
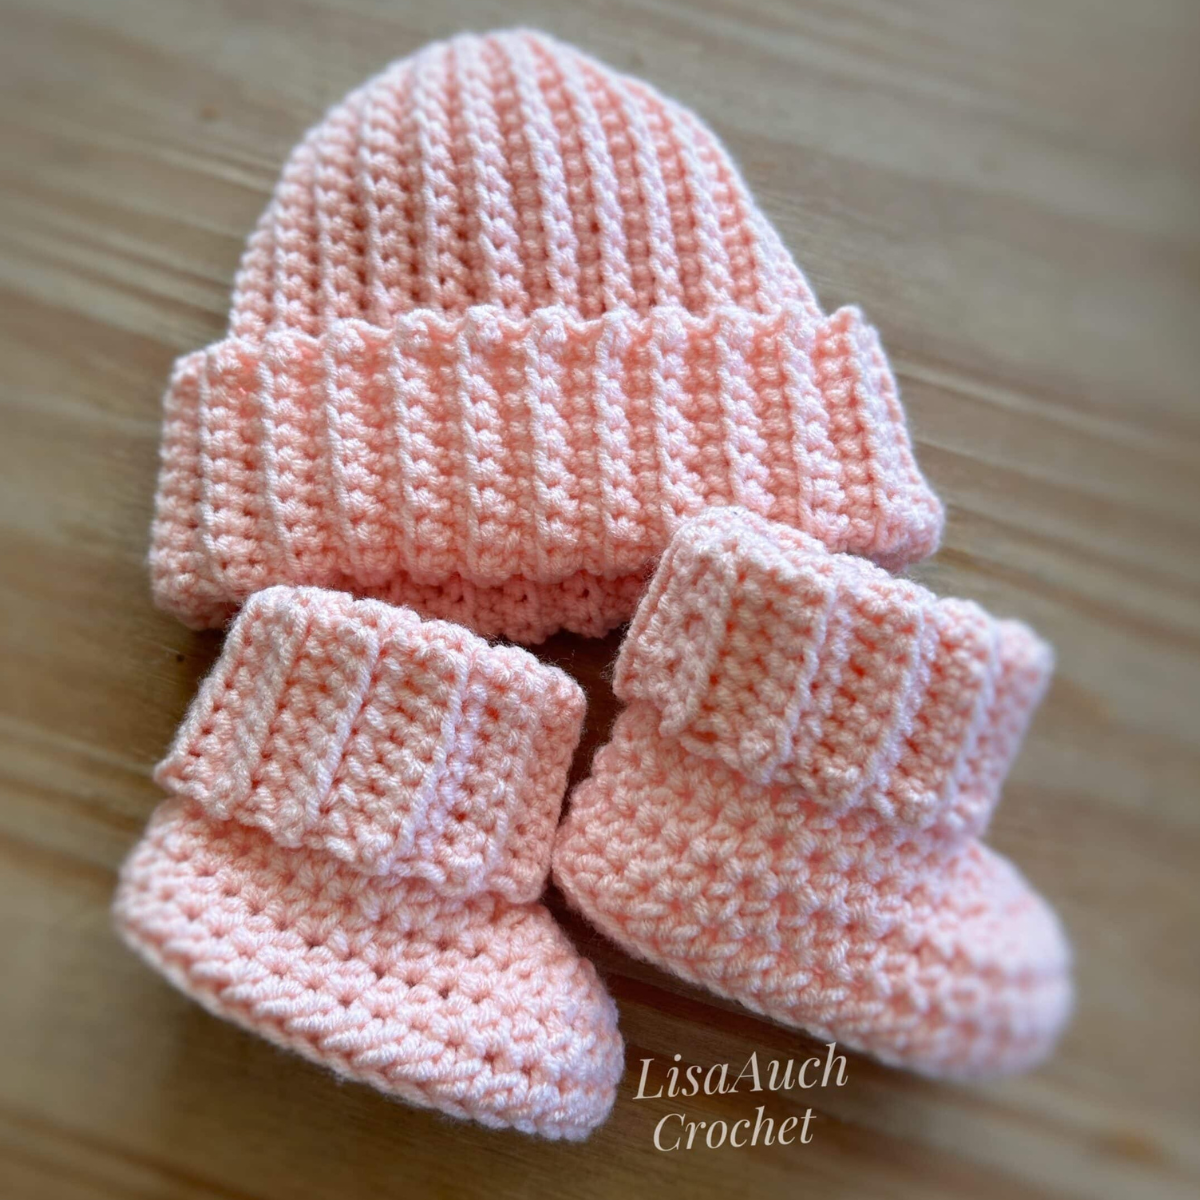
Over the years I have crocheted many free baby booties with a ribbed cuff pattern.
This bootie is my most requested and one of my own favorites.
Can You Make These Crochet Baby Booties Bigger
TO make these booties bigger you can easily adjust the booties for older babies:
- Follow the measurements in the size chart (foot length and sole width).
- Increase hook size (e.g., move from 4.0 mm to 4.5 mm or 5.0 mm) to make a larger bootie.
- Add extra rounds to the sole before starting the upper section to lengthen the foot.
- Go up a yarn weight (from DK to light worsted) if you want a roomier fit.
These adjustments work well up to around 6–12 months, when babies are not yet walking. For walking babies, always add a non-slip sole (leather, suede, or puff paint grips) to prevent slipping and make the booties safer.
Are these booties easy to crochet?
Yes! Yes. You should be comfortable working in rounds, increasing and decreasing, and working single crochet in the back loop only (BLO) for the ribbed cuff
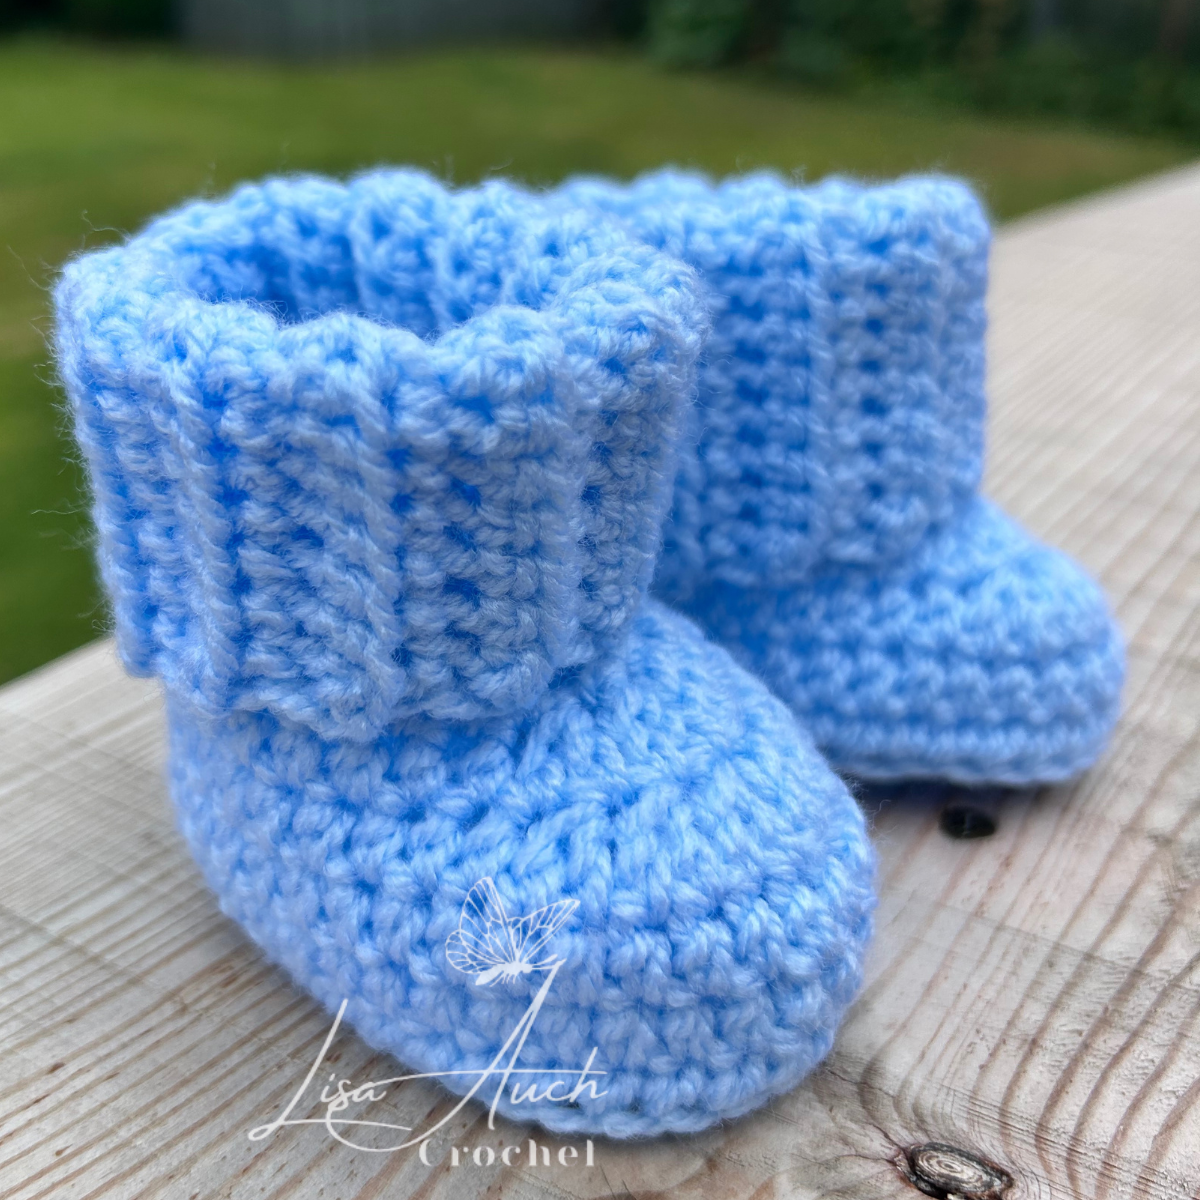
I have now added a step by step video tutorial on how to crochet the booties (SLOW version) so its a beginner friendly pattern, you will require the full written Easy crochet baby booties pattern on this page for BEST results
How to Crochet the Ribbed Cuff for Your Booties
With this design, you don’t need to know any post stitches.
Instead, when you reach the ankle, the ribbed cuff is worked using simple single crochet stitches:
- Chain the cuff length – chain the number of stitches needed for the cuff height.
- Work down the chain – single crochet (sc) back along the chain.
- Join to the ankle – slip stitch (sl st) into the next 2 ankle stitches to secure the cuff.
- Turn and work up – single crochet back up the cuff, working in the back loops only (BLO).
- Repeat around – continue working down the cuff, joining to the ankle, then working back up in BLO until you have worked all the way around.
- Cuff going to be Too WIDE , slip stitch 3 stitches in-between the ribbing
This creates a stretchy ribbed cuff without using front post or back post stitches.
Baby Bootie Size Chart
| Age | Sole Length | Suggested Hook |
|---|---|---|
Sizes Newborn | 3.5 in (9 cm) | 3.50 mm |
| 0–3 Months | 3.75 in (9.5 cm) | 4.00 mm |
| 3–6 Months | 4.25 in (10.5 cm) | 4.50 mm |
| 6–12 Months | 4.75 in (12 cm) | 5.00 mm |
👉 Tip: Measure the sole length at the end of Round 3 (toe to heel) to check that you’re on track before adding the cuff.
NOTES:
- example: Booties to fit 0-3 months the sole and to check fit measure from toe to heel at END of Rnd 3, which should measure 3.75 inches
- When you reach the booties SIDES: Pay attention to where to start and finish your rounds.
- To stop the slip-to-join seam from shifting diagonally on each round, you will skip working in the base of the chain-start stitch of the round in the next stitch, and complete the LAST stitch of that round into the previous round slip st to join.
Materials You’ll Need To make an easy pair of newborn baby booties (0–3 months)
- Yarn: DK / Light Worsted weight baby yarn (soft acrylic or cotton blends work best).
- Hook: 4.00 mm (G/6) crochet hook. Or hook to make size (see above)
- Yarn needle: For sewing in ends.
- Scissors.
- Stitch markers (optional): Helpful to mark the beginning of rounds.
- Non-slip soles- Glue these onto soles (optional): For babies who are walking, add leather, suede, or puff paint grips to keep booties safe.
Crochet Stitches & Abbreviations (US Terms)
- sl st – slip stitch
- ch – chain
- sc – single crochet
- hdc – half double crochet
- dc – double crochet
- 2 sc tog – single crochet decrease (work 2 sc together)
- 2 dc tog – double crochet decrease (work 2 dc together)
- bl-hdc – back loop half double crochet (work hdc into the back loop only)
- slst to join- slip to join at the end of each round
Note: This pattern is written using US crochet terms.
Size & Gauge
Gauge: 5 dc = 1 inch (2.5 cm)
This crochet baby booties pattern includes four sizes from newborn to 6–12 months.
Use the suggested hook size in the chart above to achieve the required sole length.
Pay attention of where to make the first stitch of each round
Easy Baby Booties Crochet Pattern
SOLE:
- Row 1: Ch10. starting in the base of the chain, Sc in the 2nd chain from the hook, and work sc in the next 7chs, work 5sc in the last ch, TURN your work 180 degrees and work back along the opposite side of the chain, sc in the next 7 chs, working 2sc in the last ch, slst to Join (22sts)
- Row 2: Ch1, starting in the base of the chain 2hdc in the first stitch, hdc in the next 7 sts, 2hdc in the next 5 stitches, hdc in the next 7sts, 2hdc in each of the last 2 stitches. Join. (30sts)
- Row 3: Ch1, 2hdc in base of ch stitch, hdc in the next 12 sts, 2hdc in each of the next 3 stitches, hdc in the next 12sts, 2hdc in each of the last 2 stitches. Join. (36sts) MEASURE SOLE HERE
SIDES and front shaping:
- Row 4: Ch1, starting in the base of the chain, working in back loops only, bl-hdc in each st around slst to Join. (36sts)
- Row 5: Ch1, skip the base chain stitch, hdc in each stitch around. the last hdc is made in the join of the previous row slst to Join. (36sts)
- Row 6: Ch1, skip the base chain stitch, hdc in the first 12sts, work 2dctog 6 times, hdc in the remaining 12sts the last hdc is made in the join of the previous row, slst to Join. (30sts )
- Row 7: Ch1, skip the base chain stitch, hdc in the next 11sts, work 2dctog 4 times, hdc in the remaining 11sts. the last hdc is made in the join of the previous row, slst to Join. (26sts)
- Row 8: Ch1, skip the base chain stitch, sc in the next 11sts, 2sctog TWICE, sc in remaining 11sts, Join. The last sc is made in the join of the previous row, slst to Join (24sts)
DO NOT FASTEN OFF
Booties Ankle Ribbing
The ribbed cuff is worked vertically and joined to the ankle as you crochet, so there is no need to make and attach the cuff separately
You can watch on Youtube video on how to crochet the ribbing for the ankle HERE
Cuff Fit Tip: If the cuff is becoming too wide, you can occasionally work the joining slip stitches across 3 ankle stitches instead of 2 to draw the cuff in slightly.
Hold the bootie with the right side of the ankle facing you
Crochet the Ribbed Cuff for the bootie
- Row 1: Ch 15. Sc in 2nd ch from hook and in each remaining ch. (14 sc) To join the ribbing to the ankle, sl st into the next st along the ankle edge, then sl st into the next st to position your hook for the next rib. (2 sl sts worked along the ankle edge) Turn.
- Row 2: Skip the 2 sl sts just worked. Working only in the 14 ribbing sts and in the back loops only (BLO), sc in each st across. Turn. (14 sc)
- Row 3: Ch 1. Working in BLO, sc in each of the 14 ribbing sts. To join the ribbing to the ankle, working through both loops, sl st into the next ankle st, then sl st into the next ankle st to position your hook for the next rib. (2 sl sts worked along the ankle edge) Turn.
- Repeat Rows 2 and 3 around the top of the bootie. On the final repeat, finish with 3 sl sts along the ankle edge.
- Fasten off. Sew the first and last rows of ribbing together to close the cuff.
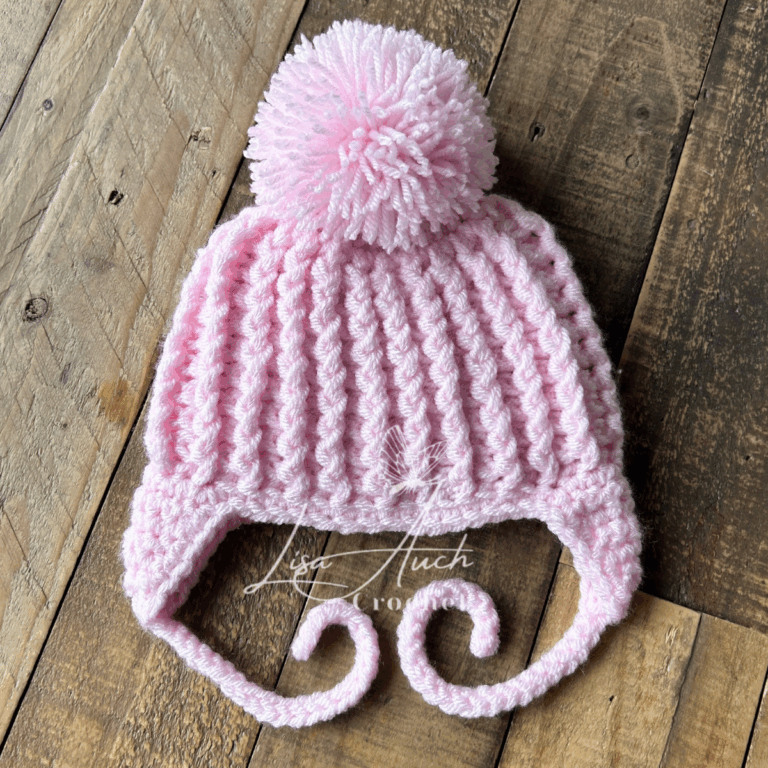
I was contacted recently asking if I had matching baby booties for my little ribbed baby crochet hat,

Baby Hat Crochet Pattern FREE – HERE
Remember to PIN this FREE crochet baby booties pattern for safe keeping and if you make these little baby booties, remember to tag me on #lisaauchcrochet
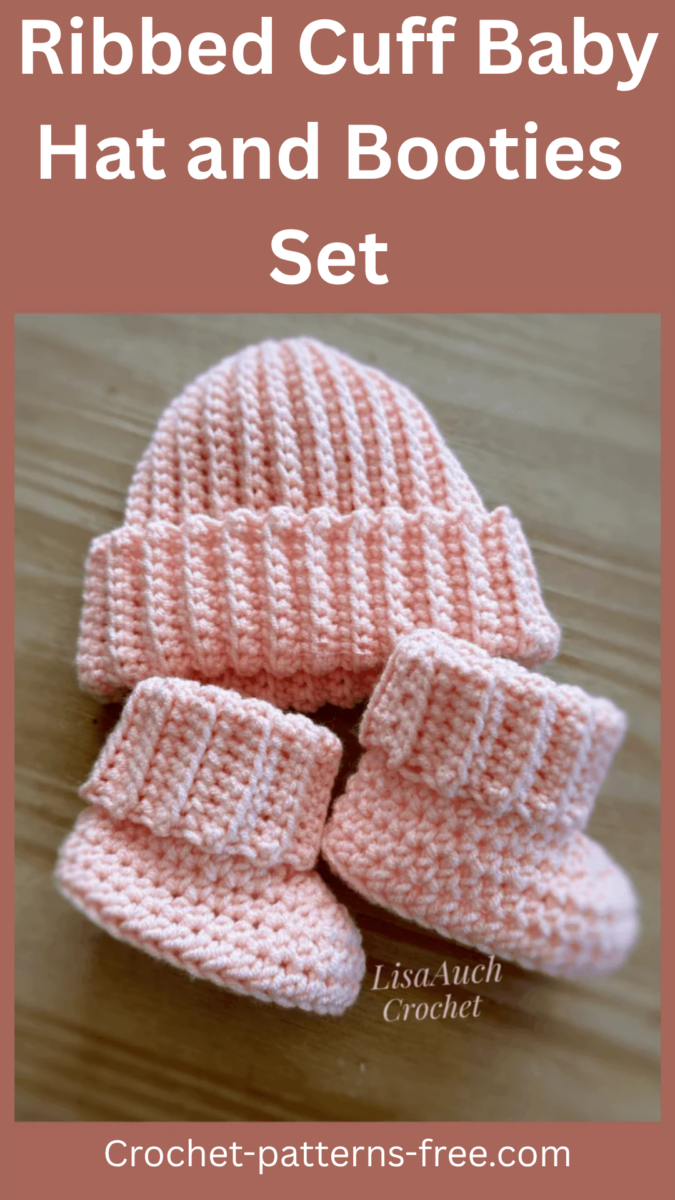
baby hat pattern here
If you have followed me over the years. You will know I LOVE crocheting little matching baby items.
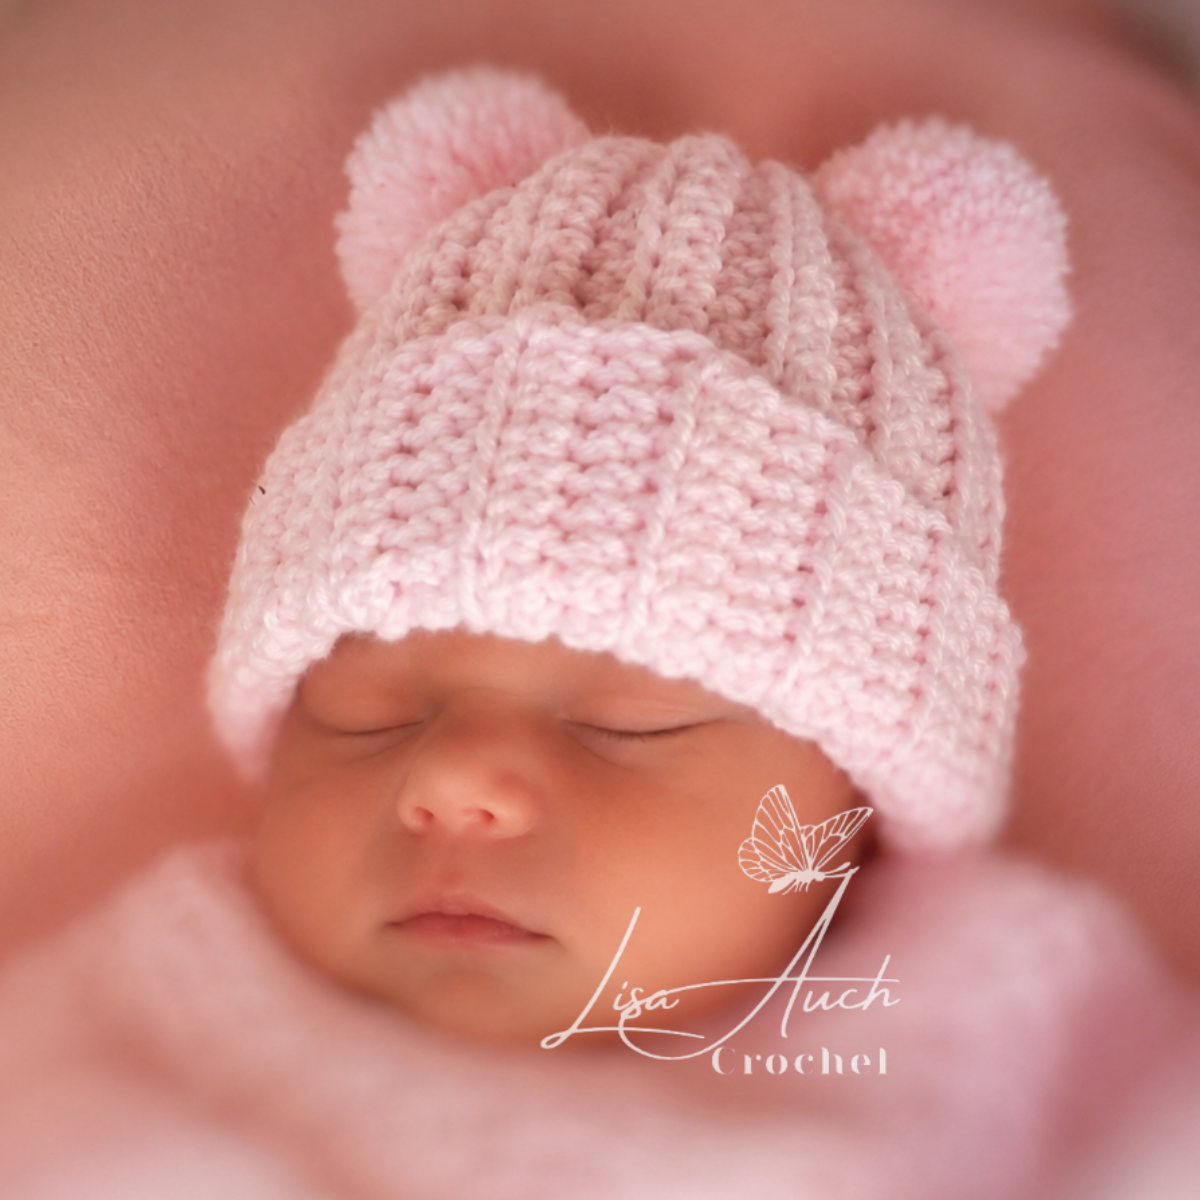
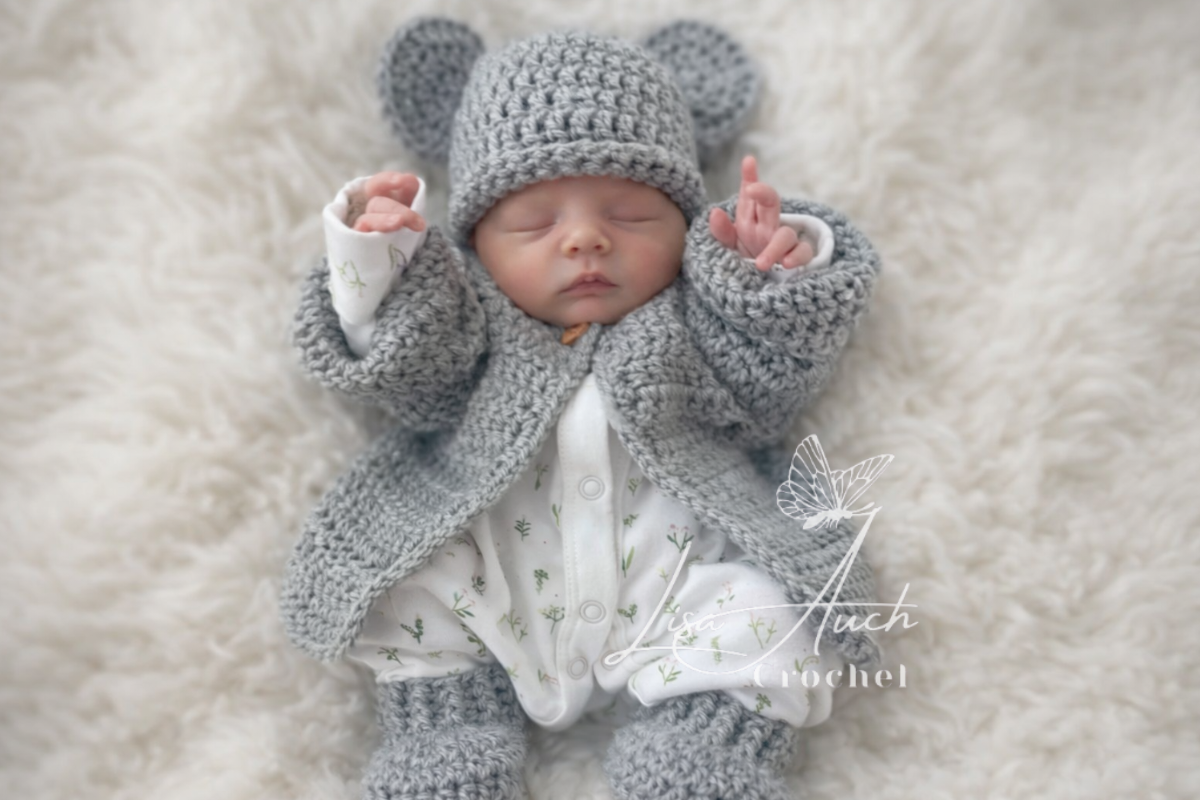
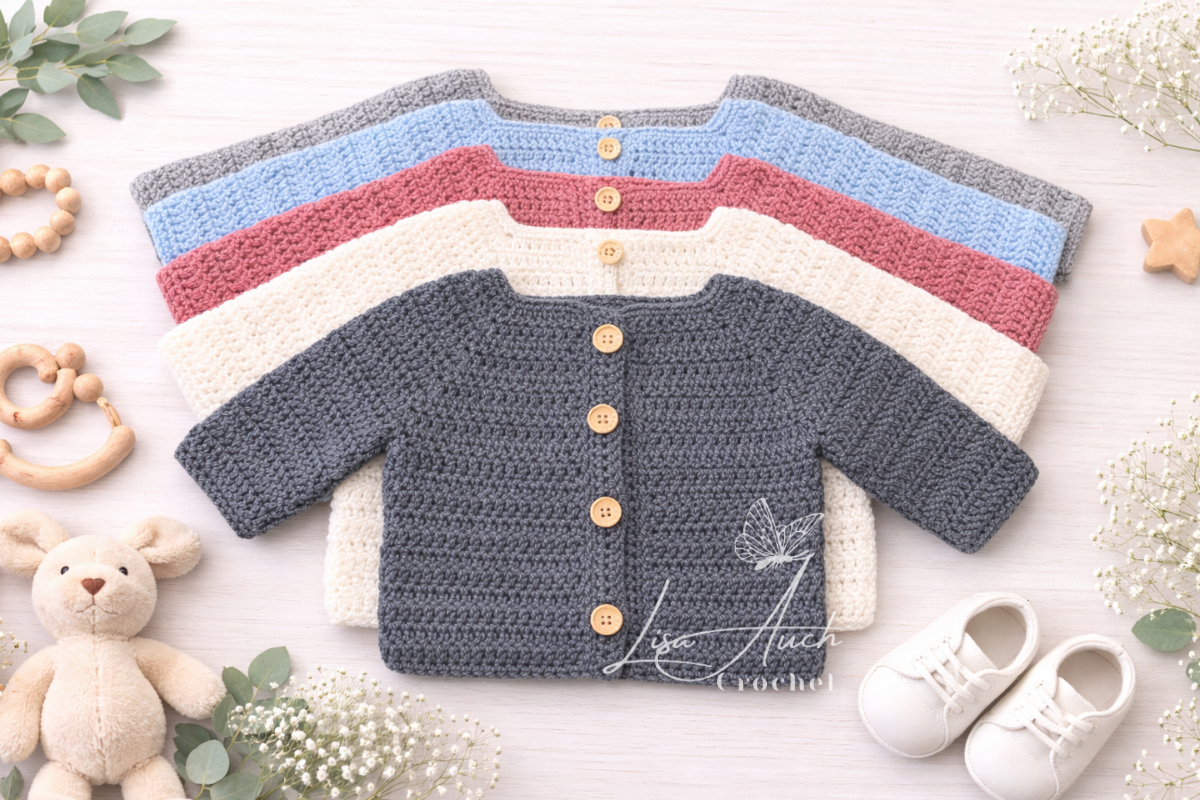
SO If you love crocheting baby sets as much as I do you can see more of my free crochet baby patterns i use to create beautiful, unique baby gifts over the years.

Crochet Baby Sets & Baby Gift Ideas to crochet
FREE Patterns available on my website

10 minute Easy Crochet Baby Booties Pattern

You may make and sell finished items made from this pattern. Please credit LisaAuchCrochet as the original designer.
You may not copy, rewrite, reproduce, redistribute, republish, or upload this pattern, in whole or in part, in any format, including as text, PDF, AI-generated or AI-rewritten content, within an app, or as a video tutorial.
You may not use Reader Mode, Print View, Save as PDF, screenshots, content-extraction tools, or any other method to bypass or remove advertising from this website and then upload, import, reproduce, or make the pattern available through another app, website, platform, or service.
All LisaAuch Crochet photographs and images are copyrighted. You may not copy, download, crop, edit, alter, republish, or use these images except as expressly permitted by the LisaAuch Crochet Pattern Use & Copyright Policy.
Factory production and mass manufacturing of items made from this pattern are not permitted.
For full details, please see:
Happy Crocheting! © All Rights Reserved LisaAuchCrochet






What size hook does this pattern use?
Hi
Newborn = 3.5 inches – use a 3.50mm hook
0-3 Months =3.75 inches – 4.00mm hook
3-6 Months = 4.25 inches – 4.50 mm hook
6-12 Months = 4.75 inches – 5.00 mm hook
Question on the notes. To check fit measure from toe to heel at Rnd 3. Is that before starting rnd 3 or after?
Baby hat crochet pattern here – https://crochet-patterns-free.com/newborn-baby-crochet-hat-pattern/
What does BU stand for in the cuff? I haven’t seen that abbreviation before. Thanks
My typo – Back Loop (BL) ONLY
Hi I couldn’t find the Beanie pattern. Only the Booties.