
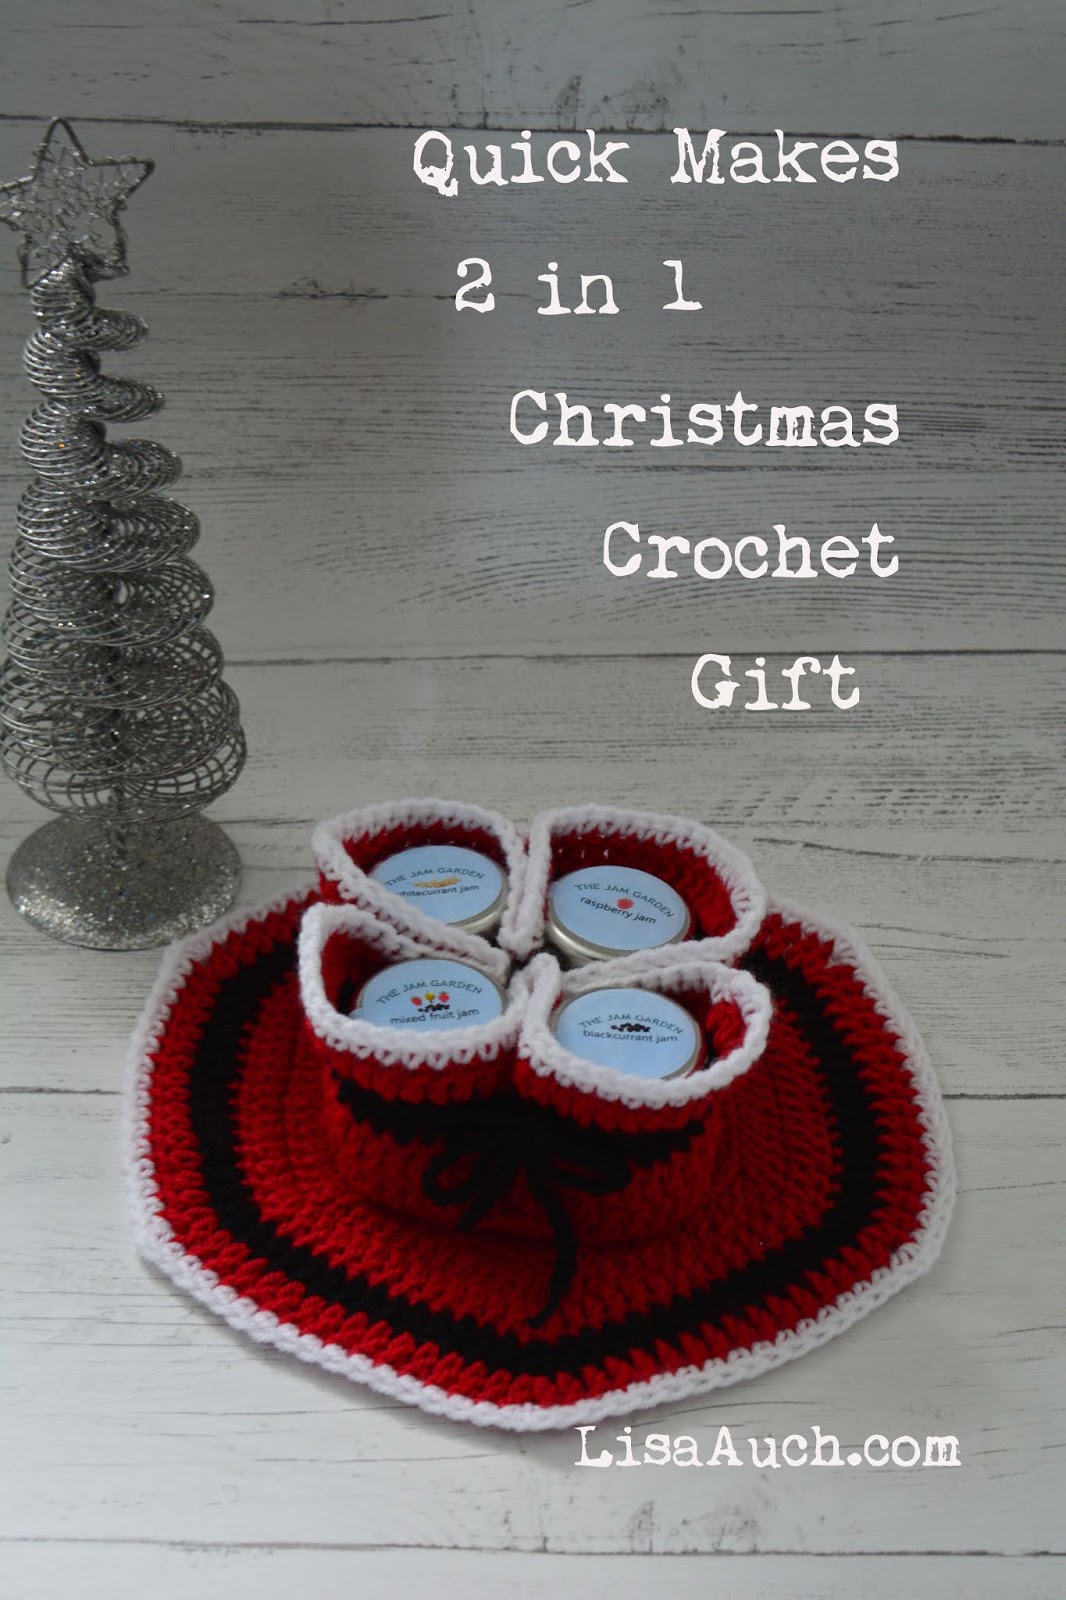
Free Crochet table placemat Pattern A Christmas Crochet Gift Idea
")
What do you Buy the Mother-in-law who wants ‘nothing’. Yeah I know your pain.
You can use any colors for these it’s just I used Christmassy Colours.
Disclosure: This post may contain affiliate links. I may earn a small commission at no extra cost to you. All opinions are my own.
The Christmas Placemat Pattern
You will Need
IN RED
Rnd1: ch2, into the first chain, make 6 sc, slip to join to first
Rnd2: ch1. 2sc in each stitch around slip to join
Rnd 3: ch1, *2sc in the first stitch, sc in next* repeat around slip to join
Rnd 4: ch1: *2sc in the first stitch, sc in next 2 sts* repeat around slip to join
Rnd 5: ch1: *2sc in the first stitch, sc in next 3 sts* repeat around slip to join
Rnd 6: ch1: *2sc in the first stitch, sc in next 4 sts* repeat around slip to join
Rnd 7: ch1: *2sc in the first stitch, sc in next 5 sts* repeat around slip to join
Rnd 8: ch1: *2sc in the first stitch, sc in next 6 sts* repeat around slip to join
Rnd 9: ch1: *2sc in the first stitch, sc in next 7 sts* repeat around slip to join
Rnd 10: ch1: *2sc in the first stitch, sc in next 8 sts* repeat around slip to join
Rnd 11: ch1: *2sc in the first stitch, sc in next 9 sts* repeat around slip to join
Rnd 12: ch1: *2sc in the first stitch, sc in next 10 sts* repeat around. slip to join.
Rnd 13: Working into the BACK LOOP of each stitch, 2dc in the first stitch, dc in next 11sts,
(2dc,ch1, 2dc) in the same stitch* repeat around and finish with a 2dc, ch1 in last space. slip to join
Rnd 14: 2dc in the first stitch, dc in next 12sts, (2dc,ch1, 2dc) in the same stitch* repeat around and finish with a 2dc, ch1 in Last space.
Fasten off and weave in ends slip to join
Change to Black
Rnd 15: 2dc in the first stitch, dc in next 13sts, (2dc,ch1, 2dc) in the same stitch* repeat around and finish with a 2dc, ch1 in Last space.slip to join
Fasten off and weave in ends
Rnd 16: 2dc in first stitch, dc in next 14sts, (2dc,ch1, 2dc) in same stitch* repeat around
and finish with a 2dc, ch1 in Last space. slip to join.
Fasten off and weave in ends.
Change to White
Rnd 17: sc in the first stitch, sc in next 14 sts, (1sc, ch1, 1sc) in the same stitch* repeat around, slip to join.
Fasten Off and Weave in Ends.
TOP TIP: slip stitch Xmas Messages onto the Middle of the Right Side of the Pot Holder.
To arrange the jams into the holder
Sit 4 small pots of jam into the middle of the Potholder, Pick up the piece between the pot and pull into the middle – do this 4 times.
Secure with a ribbon or
Chain a length (IN black) long enough to go around the 4 pots in the holder just sitting under the lids to help keep them secure, and tie in a bow.


