Easy Crochet Baby Bonnet and Booties Set – Free Pattern
This easy crochet baby booties and bonnet set is one of those lovely little patterns that looks much more complicated than they actually are.
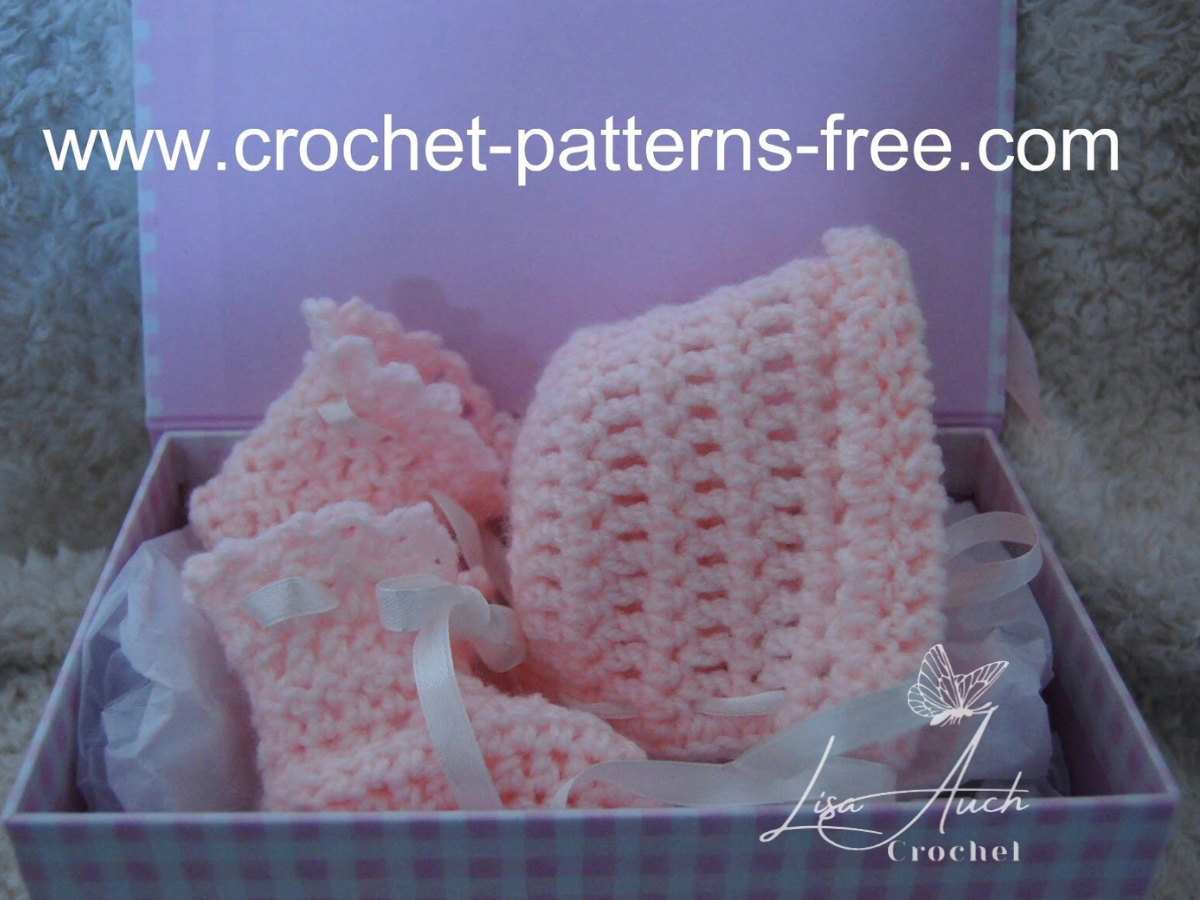
Both pieces have been designed with simplicity in mind. It makes a great, easy crochet baby booties and bonnet set for beginners or anyone looking for a quick handmade gift.
The baby booties are crocheted completely flat using simple rows of basic crochet stitches.
Disclosure: This post may contain affiliate links. I may earn a small commission at no extra cost to you. All opinions are my own.
- There is no complicated sole shaping and no working around in circles.
- Once the crochet piece is finished, you simply fold it in half, sew the sole and back seam, and turn it right side out.
They really are that easy.
The easy crochet baby booties and bonnet is worked from the back of the head towards the face and finished with a pretty edging and ties.
The front can also be folded back to create the traditional little turned-back brim.
I have included instructions for Newborn and 0–3 months, so you can make this sweet little bonnet and booties set for a new arrival, baby shower gift or coming-home outfit.
I love simple baby patterns like this because you don’t need complicated stitches or lots of shaping to make something really special.
The finished set has that lovely traditional baby look, with a classic bonnet and tiny matching booties, but the actual crochet is very straightforward.
The booties in particular are ideal if you have never crocheted baby shoes before.
Instead of starting with an oval sole and crocheting around it, these booties begin with a foundation chain and are worked back and forth in rows.
You will:
- crochet one simple flat piece;
- shape the top of the bootie with a few slip stitches;
- add the little ruffle edging;
- fold the finished piece in half;
- sew the sole and back seam.
That’s it. Once turned right side out, the flat crochet piece becomes a tiny shaped baby bootie.
Materials
- DK yarn
- 4.00 mm crochet hook
- Yarn needle
- Scissors
- Optional ribbon
- Measuring tape
Abbreviations (US TERMS)
ch – chain
dc – double crochet
sc – single crochet
sl st – slip stitch
st(s) – stitch(es)
sp – space
rnd – round
RS – right side
Baby Bonnet Size Chart
| Approx. Age | Head Circumference | Back Circle Diameter | Depth of Bonnet from Centre Back to Front Before Fold-Over |
| Small Newborn | 12–13″ (30–33 cm) | 4″ (10 cm) | Approx. 3.5″ (9 cm) |
| 0–3 Months | 13–14″ (33–35.5 cm) | 4.5″ (11.5 cm) | Approx. 4.5″ (11.5 cm) |
- Always check the finished measurements as you work, as individual crochet tension can vary.
Small Newborn Bonnet Pattern
To fit: approximately 12–13″ (30–33 cm) head circumference
Back circle diameter: approximately 4″ (10 cm)
Depth of bonnet from center back to front before fold-over: approximately 3.5″ (9 cm)
Back of Bonnet
Ch 3.
Rnd 1: Work 12 dc into the first ch. Sl st to join. (12 dc)
Rnd 2: Ch 2. Work 2 dc in each st around. Sl st to join. (24 dc)
Rnd 3: Ch 2. Work 2 dc in the next st, 1 dc in the next st. Repeat from * to * around. Sl st to join. (36 dc)
Rnd 4: Ch 2. Work 2 dc in the next st, 1 dc in each of the next 2 sts. Repeat from * to * around. Sl st to join. (48 dc)
The back circle should now measure approximately 4 inches (10 cm) across at the widest point.
Sides and Front of Bonnet
You will now stop working in joined rounds and begin working back and forth in rows.
Leave the final 5 sts unworked to create the neck opening.
Row 1: Ch 3. Dc in each st across, leaving the final 5 sts unworked. Turn.
Row 2: Ch 1. Sc in each st across. Turn.
Row 3: Ch 3. Dc in each st across. Turn.
Row 4: Ch 1. Sc in each st across. Turn.
Row 5: Ch 3. Dc in each st across. Turn.
At this point, check the depth of the bonnet from the center back to the front edge. It should measure approximately 3.5 inches (9 cm).
Continue with the final 2 rows to create the extra front depth for the fold-over brim.
Row 6: Ch 1. Sc in each st across. Turn.
Row 7: Ch 3. Dc in each st across. Turn.
Small Newborn Front Edging
Continue along the front edge of the bonnet.
Front Edging: Ch 2, sl st into the next st, *ch 1, slst in the next st*. Repeat from * to * evenly around the front edge. Ch 2 and sl st to finish. Fasten off.
Small Newborn Bottom of Bonnet – Neckline
The final 2 rows of the bonnet help to form the fold-over brim. The lower ends of the folded brim are secured while working the neckline, so no additional sewing is required.
With the WS facing,
Row 1: Ch 1. Work sc evenly along the bottom neckline, across the 5 unworked sts at the center back, and continue evenly along to the opposite corner. Make sure you have an even number of sts along the neckline. Turn.
Fold and Secure the Brim
Fold the final 2 rows of the front edge back towards the RS of the bonnet to form the brim.
Fold the final 2 rows of the front edge back towards the RS of the bonnet to form the brim.
At the beginning and end of Row 2, insert your hook through both layers at the lower edge of the folded brim and work sl sts through both layers to secure the fold in place. (or skip this and you can add a stitch or 2 to keep in place later)
Row 2: Ch 2. Skip the next st, ch 1, sc in the next st. Repeat from * to * across the neckline.
- The ch-1 spaces create the openings for the bonnet tie or ribbon.
- When you reach the opposite end, fold the brim back in the same way and work through both layers, using sl sts to secure the second end of the fold-over brim.
- Fasten off and weave in ends.
Newborn Crochet Baby Bonnet
To fit: approximately 13–14″ (33–35.5 cm) head circumference
Back circle diameter: approximately 4.5″ (11.5 cm)
Depth of bonnet from center back to front before fold-over: approximately 4.5″ (11.5 cm)
Back of Bonnet
Ch 3.
Rnd 1: Work 12 dc into the first ch. Sl st to join. (12 dc)
Rnd 2: Ch 2. Work 2 dc in each st around. Sl st to join. (24 dc)
Rnd 3: Ch 2. Work 2 dc in the next st, 1 dc in the next st. Repeat from * to * around. Sl st to join. (36 dc)
Rnd 4: Ch 2. Work 2 dc in the next st, 1 dc in each of the next 2 sts. Repeat from * to * around. Sl st to join. (48 dc)
Rnd 5: Ch 2. Dc in each of the next 7 sts, 2 dc in the next st. Repeat from * to * around. Sl st to join. (54 dc)
The back circle should now measure approximately 4.75 inches (11.5 cm) across at the widest point.
Sides and Front of Bonnet
- You will now stop working in joined rounds and begin working back and forth in rows.
- Leaving the final 6 sts unworked to create the neck opening.
Row 1: Ch 3. Dc in each st across, leaving the final 6 sts unworked. Turn. (48sts)
Row 2: Ch 1. Sc in each st across. Turn.
Row 3: Ch 3. Dc in each st across. Turn.
Row 4: Ch 1. Sc in each st across. Turn.
Row 5: Ch 3. Dc in each st across. Turn.
Row 6: Ch 1. Sc in each st across. Turn.
Row 7: Ch 3. Dc in each st across. Turn.
At this point, check the depth of the bonnet from the center back to the front edge. It should measure approximately 4.5 inches (11.5 cm).
Continue with the final 2 rows to create the extra front depth for the fold-over brim.
Row 8: Ch 1. Sc in each st across. Turn.
Row 9: Ch 3. Dc in each st across. Turn.
newborn Front Edging
Continue along the front edge of the bonnet.
Front Edging: Ch 2, sl st into the next st, *ch 1, slst in the next st*. Repeat from * to * evenly around the front edge. Ch 2 and sl st to finish. Fasten off.
newborn Bottom of Bonnet – Neckline
The final 2 rows of the bonnet help to form the fold-over brim. The lower ends of the folded brim are secured while working the neckline, so no additional sewing is required.
With the WS facing, join yarn at one bottom corner of the bonnet.
Row 1: Ch 1. Work sc evenly along the bottom neckline, across the 6 unworked sts at the center back, and continue evenly along to the opposite corner. Make sure you have an even number of sts along the neckline. Turn.
Fold and Secure the Brim
Fold the final 2 rows of the front edge back towards the RS of the bonnet to form the brim.
At the beginning and end of Row 2, insert your hook through both layers at the lower edge of the folded brim and work sl sts through both layers to secure the fold in place. (or skip this and you can add a stitch or 2 to keep in place later)
Once the folded section is secured, continue working across the neckline.
Row 2: Ch 2. Skip the next st, ch 1, sc in the next st. Repeat from * to * across the neckline. Fasten off and weave in ends.
- The ch-1 spaces create the openings for the bonnet tie or ribbon.
- When you reach the opposite end, fold the brim back in the same way and work through both layers, using sl sts to secure the second end of the fold-over brim.
Bonnet Tie
You can finish the bonnet with either a ribbon or a crocheted tie.
Crochet Tie: Ch 85, or continue chaining until the tie reaches your preferred length.
- Fasten off neatly.
- Thread the tie through the ch-1 spaces around the neckline.
- Alternatively, thread a narrow ribbon through the neckline openings.
Finishing
- Weave in all loose ends.
- Gently shape the bonnet by hand.
- The final 2 rows form the fold-over brim and are secured at the lower edges while working the neckline. This keeps the fold neat while still allowing the bonnet to retain its deeper, adjustable shape.
Small Newborn Baby Booties Pattern
These easy crochet baby booties are worked flat, then folded and seamed to finish.
US crochet terms are used throughout.
Materials
- DK yarn
- 4.00 mm crochet hook
- Yarn needle
- Scissors
- Measuring tape
Abbreviations
ch – chain
dc – double crochet
hdc – half double crochet
sc – single crochet
sl st – slip stitch
st(s) – stitch(es)
Crochet Baby Booties
Foundation: Ch 26.
Row 1: Hdc in the 2nd ch from hook and in each ch across. (25 hdc) Ch 2; this counts as the first hdc of the next row. Turn.
Rows 2–3: Hdc in each hdc across. (25 hdc) Ch 2, turn.
Row 4: Dc in each hdc across. (25 dc) Do not ch at the end of the row. Turn.
Shape the Top of the Bootie
Row 5: Sl st in each of the first 5 dc. Ch 3; this counts as the first dc. Dc in the same st, then dc in each st across, leaving the final 4 sts unworked. Ch 3, turn.
Row 6: Dc in each dc across the sts just worked, making sure to work into the very last st. Ch 3, turn.
Row 7: Dc in each dc across, making sure to work into the very last st. Do not turn.
Ruffle Edging
Row 8: Sc in the first st. Ch 3, sl st in the next st. Repeat from * to * across to create the ruffle along the top of the bootie.
Finishing
- Fold the bootie in half with the wrong side facing out.
- Using matching yarn and a yarn needle, sew the sole and back seam together securely.
- Fasten off and weave in the ends.
- Turn the bootie right side out and gently shape it with your hands.
- Make the second bootie in exactly the same way.
0–3 Months Baby Booties
Foundation: Ch 30.
Row 1: Hdc in the 2nd ch from hook and in each ch across. (29 hdc) Ch 2; this counts as the first hdc of the next row. Turn.
Rows 2–4: Hdc in each hdc across. (29 hdc) Ch 2, turn.
Row 5: Dc in each hdc across. (29 dc) Do not ch at the end of the row. Turn.
Shape the Top of the Bootie
Row 6: Sl st in each of the first 6 dc. Ch 3; this counts as the first dc. Dc in the same st, then dc in each st across, leaving the final 5 sts unworked. Ch 3, turn.
Row 7: Dc in each dc across the sts just worked, making sure to work into the very last st. Ch 3, turn.
Row 8: Dc in each dc across, making sure to work into the very last st. Do not turn.
Ruffle Edging
Row 9: Sc in the first st. Ch 3, sl st in the next st. Repeat from * to * across to create the ruffle along the top of the bootie. Fasten off.
Finishing
Fold the bootie in half with the wrong side facing out.
Using matching yarn and a yarn needle, sew the sole and back seam together securely.
- Fasten off and weave in the ends.
- Turn the bootie right side out and gently shape it with your hands.
- Make the second bootie in exactly the same way.
A Quick Handmade Baby Shower Gift
The bonnet and booties make such a sweet little handmade set and, because neither pattern requires a large amount of yarn, they’re also a lovely way to use some of your favorite baby yarn.
Make them in traditional white or cream, soft pastel colors or a color to match baby’s coming-home outfit.
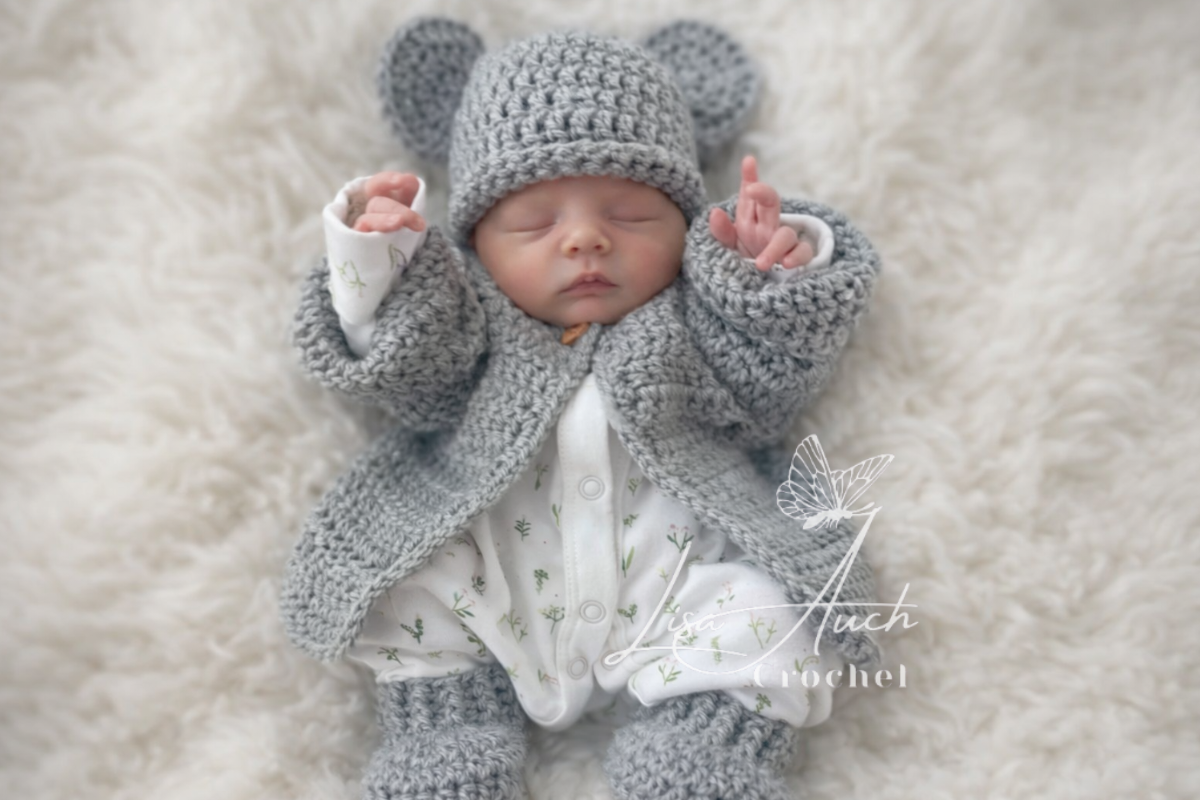
You could also pair the bonnet and booties with my easy newborn crochet cardigan to make a complete handmade baby gift set.

For me, the best thing about this pattern is how simple it is.
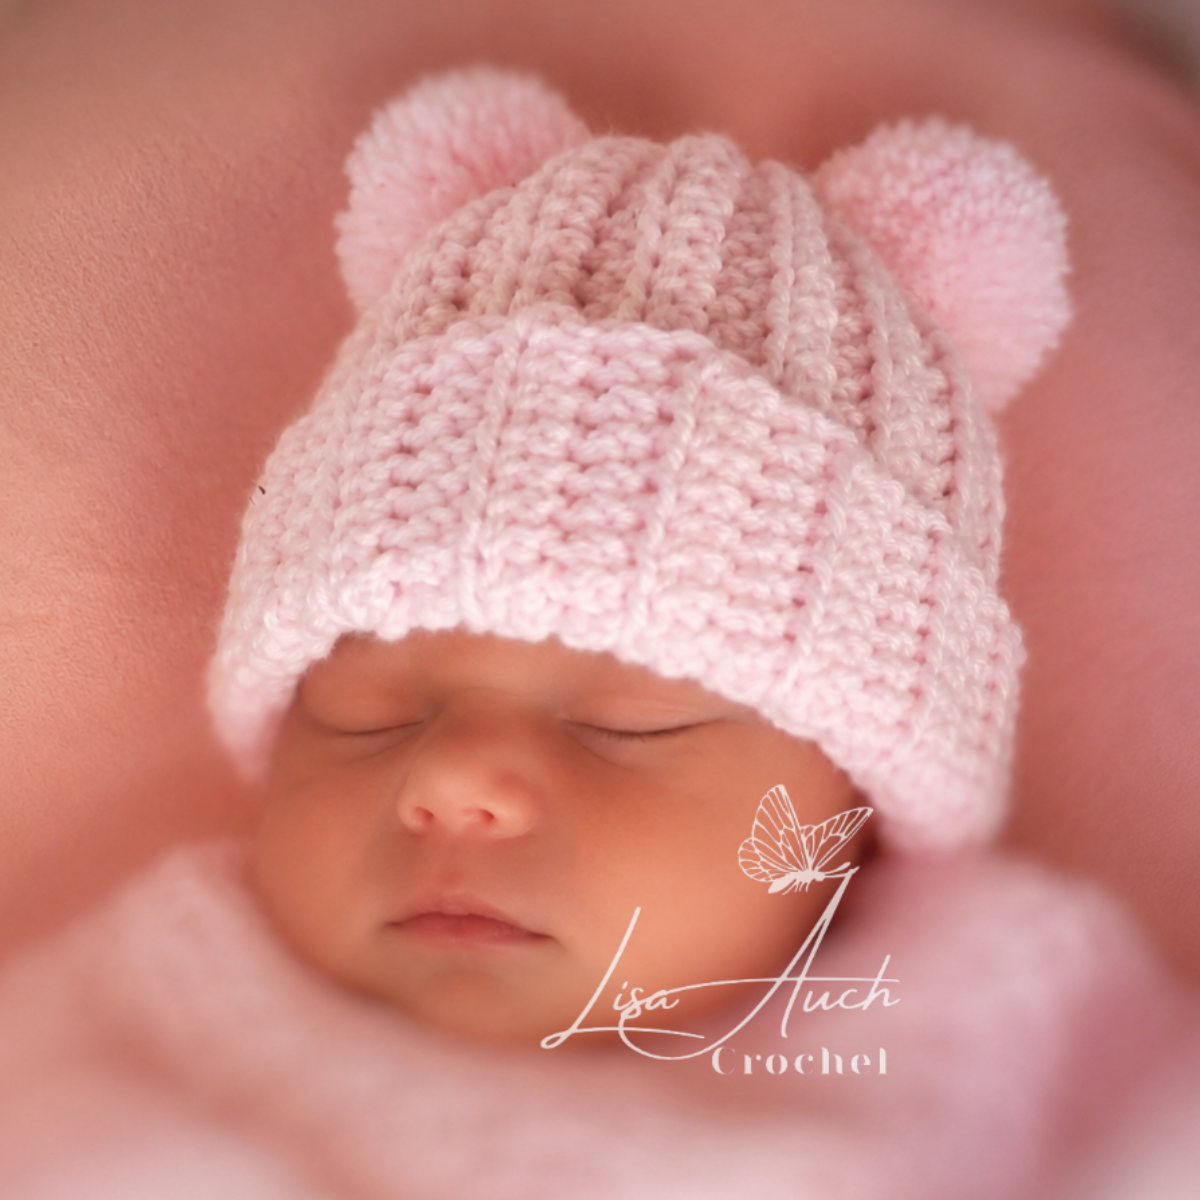
The baby booties begin as a flat piece of crochet, the bonnet uses basic stitches, and yet once everything is finished you have a beautiful traditional crochet baby set that makes a lovely gift for a new arrival.



You are welcome to make and sell finished items created from this pattern. Please credit LisaAuchCrochet as the original designer.
You may not copy, rewrite, redistribute, or upload this pattern (in whole or in part) in any format, including text, PDF, Ai, or video. You may not use, crop, edit, or alter any LisaAuchCrochet images. No factory production or mass manufacturing is permitted.
For full details, please see:
Happy Crocheting! © All Rights Reserved — LisaAuchCrochet





In your files & pics it shows Baby Booties with a strap for a girl – they r so cute – but when I click on pic I get the above pattern only which u have on the nxt pattern & pic. Where can I find the pattern for the cute Baby Booties with a strap for a girl – so cute. Wud luv to try these. Tk u in advance. I so love yr patterns – so pretty – just awesome. Tk u for sharing.
Hi Helen I have 2 baby sheos with straps hope that helps and sorry for the confusion Crochet Baby Shoes PatternCrochet Baby Shoes with Strap Pattern